9 Lip Plumpers That Made My Lips Fuller, Really
9 Lip Plumpers That Made My Lips Fuller, Really
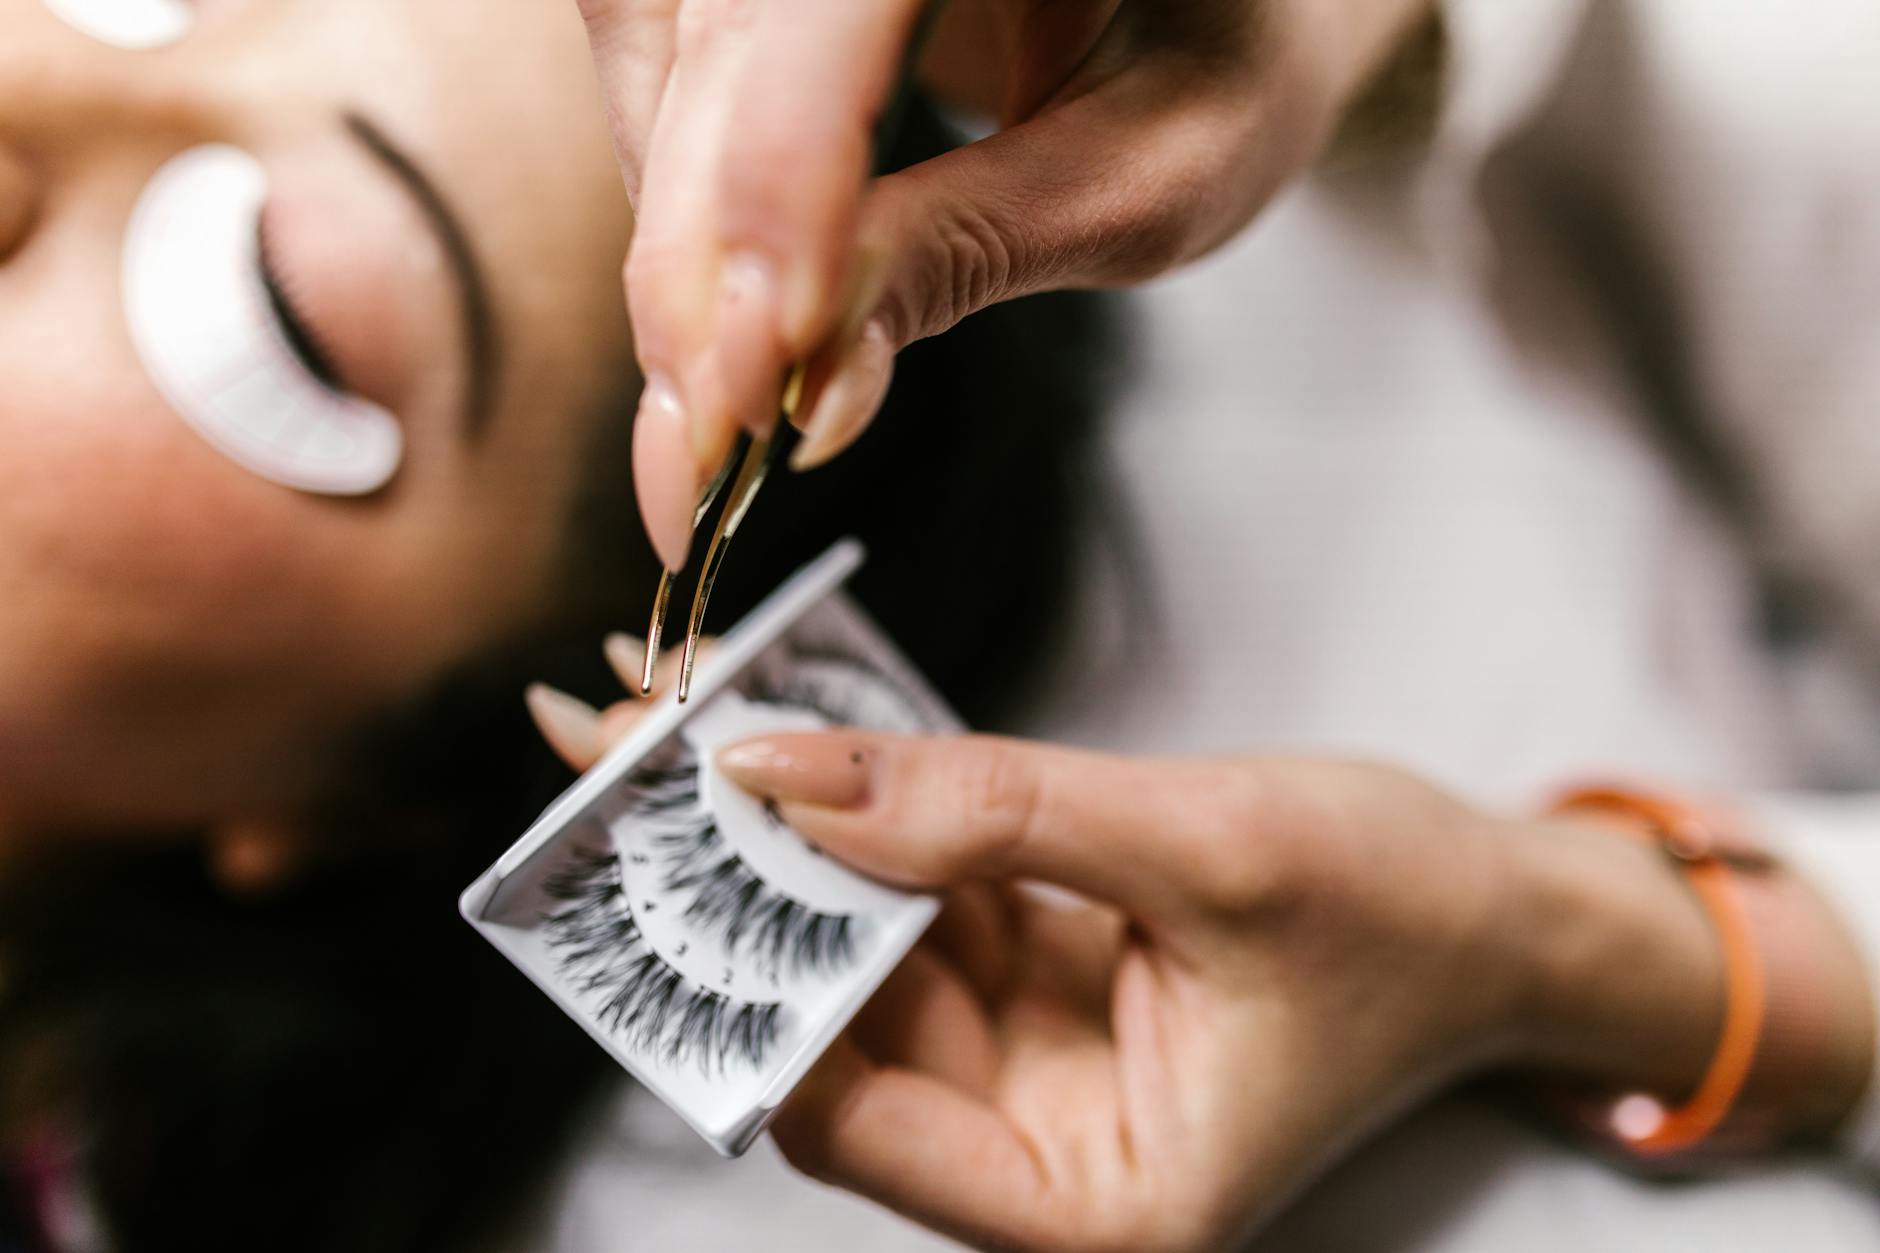
So, your lash extensions have had a good run. They’re looking a little sparse, maybe a bit crooked, and you’re ready to go back to your natural look for a bit. You’re probably staring in the mirror wondering how to remove lash extensions without accidentally yanking out all your real lashes.
Don’t worry — it’s way easier than it looks. I’m going to walk you through the process, just like I would for a friend. We’ll get those stragglers off safely so your natural lashes can live to flutter another day.
You can’t go into battle unprepared! Most of this stuff you probably already have sitting around your bathroom. No need for a special trip to the store unless you really want to.
An oil-based remover: Coconut oil, castor oil, or even baby oil works great. The oil is what breaks down that super-strong lash adhesive.
Cotton pads and Q-tips: Get the good, lint-free cotton pads if you can. The fuzzy ones can get snagged, and that’s just annoying.
A bowl of hot water and a towel: We’re going to create a mini-steam room for your face.
Gentle, oil-free cleanser: For cleaning up afterward.
Patience: I’m serious! This isn’t a five-minute job. Rushing is how you end up with bald patches.
First things first, you need a clean canvas. Remove all your eye makeup, especially any mascara or eyeliner you might have put on top of the extensions. Be gentle!
Now, let’s loosen things up. Carefully pour hot (not boiling!) water into a bowl. Drape a towel over your head and lean over the bowl for about 10-15 minutes. The steam will start to soften the lash glue, making your job a whole lot easier.
Don’t want to do the bowl thing? A long, hot shower works just as well. It’s the perfect excuse for a little 2026-style self-care.
This is where the magic happens. After your steam session, pat your face dry. Dip a Q-tip or a clean mascara spoolie into your chosen oil. You don’t need to drench it, just get a good amount on there.
Close one eye and gently swipe the oil along your lash line, right where the extensions are bonded to your natural lashes. Go from the root to the tip. Do a few passes to make sure every single bond is saturated.
The trick nobody tells you is to also apply oil from underneath the lashes, pushing upward slightly. This helps the oil soak in from all angles.
Now, let the oil sit for about 5-10 minutes. Let it do its thing and break down that stubborn glue. Don’t get it in your eye! If you do, it’ll get blurry but it’s not the end of the world. Just flush gently with water.
After waiting, take a cotton pad and gently press it against your lashes, wiping downward. You should see some extensions start to slide right off onto the pad. This is the goal! They should feel like they’re slipping away, not being pulled.
I messed this up the first time by getting impatient and trying to pull one that was half-off. Big mistake. I took the natural lash with it. If a lash doesn’t want to budge, apply more oil and wait longer. Seriously, do not pull.
Once all the extensions are off, you’ll have some oily residue left over. Use your gentle, oil-free cleanser to wash your face and eye area thoroughly. This removes any leftover oil and glue fragments.
Pat your eyes dry and take a look! Your natural lashes might look a little short or sparse at first, but that’s mostly because you’ve gotten used to the drama of extensions. They’re fine!
If the DIY oil method isn’t cutting it, you can buy a professional-grade gel or cream lash remover online. These are formulated specifically to dissolve lash glue, but they are strong. Follow the directions on the package *exactly* and be super careful not to get the product in your eyes.
Give your natural lashes some love afterward. Apply a little castor oil or a lash growth serum to them every night for a week or two. This will help condition them and encourage healthy growth.
The most important part of learning how to remove lash extensions is knowing when to stop. If you’ve been at it for 30 minutes and they aren’t moving, it’s time to throw in the towel.
Sometimes, the glue is just too strong for at-home methods. If you’ve tried steaming and oiling and the lashes are holding on for dear life, please don’t resort to picking or pulling.
That’s your cue to book an appointment with a lash technician. They have the right tools and professional-strength removers to get them off in minutes with zero damage. It’s better to pay a small fee for removal than to spend months waiting for your natural lashes to grow back.
9 Lip Plumpers That Made My Lips Fuller, Really
13 Best Eyelash Curlers
11 Best Spa Headbands
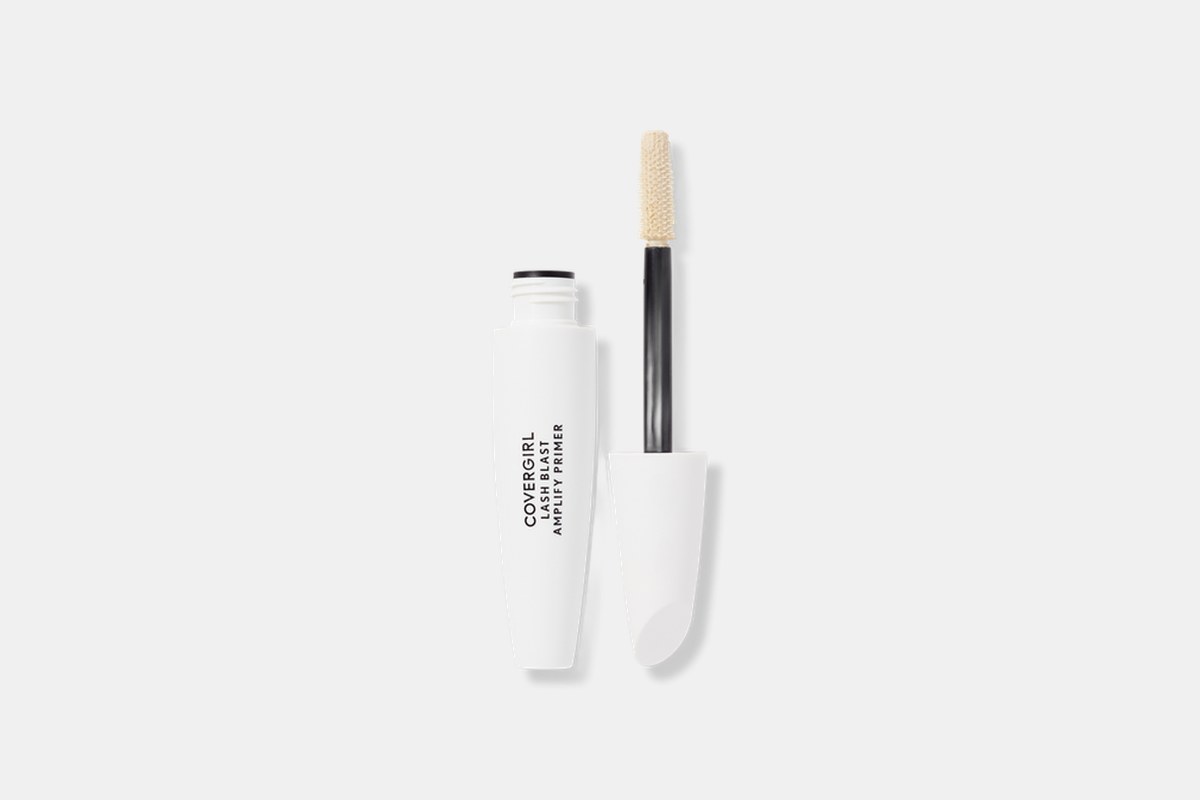
10 Best Eyelash Primers
Leave a Reply