All the Different Nail Shapes
All the Different Nail Shapes

Okay, let’s talk. Your acrylics have seen better days, and that one nail is starting to lift. The urge to just… rip it off is real, I get it. But please, for the love of healthy nails, don’t do it!
Prying or biting them off will take a layer of your natural nail with it, leaving you with weak, peeling, and painful nail beds. No thanks.
The good news? You can totally remove acrylic nails at home without turning your nails into a disaster zone. Don’t worry — it’s way easier than it looks. You just need a little patience and the right stuff.
You’ll want to gather everything before you start. There’s nothing worse than having one hand wrapped in foil and realizing you forgot something across the room.
Here’s your little toolkit:
– Nail clippers and a coarse nail file
– 100% pure acetone (regular polish remover won’t cut it)
– Cotton balls or pads
– Aluminum foil, cut into small squares
– A wooden orange stick or cuticle pusher
– Petroleum jelly
– A nail buffer and cuticle oil
Ready to get those acrylics off for good? Put on some Netflix, get comfy, and let’s do this. This whole process takes about 30-45 minutes, so patience is your best friend here.
First, trim down the length of your acrylics with nail clippers. The less acrylic there is, the less you have to dissolve. It just makes your life easier.
Next, grab your coarse nail file and go to town on the shiny topcoat. You need to file away all the shine and color. The goal is to break that top seal so the acetone can get in and work its magic on the acrylic underneath. Don’t be shy!
Acetone is incredibly drying, so this step is a must. Take some petroleum jelly and slather it on the skin around your nails and on your cuticles. Try not to get it on the acrylic itself, as it can prevent the acetone from working properly.
This creates a barrier to protect your poor fingers from turning into a dry, flaky mess. I learned this one the hard way.
Now for the fun part. Saturate a cotton ball in your 100% pure acetone. It should be soaked, but not dripping everywhere. Place the cotton ball directly on top of your nail, making sure it covers the entire surface.
Wrap a small square of aluminum foil tightly around the cotton ball and your fingertip. The foil traps heat, which helps the acetone work faster. Repeat for all ten nails, then sit back and relax for about 15-20 minutes.
After about 15 minutes, unwrap one nail. The acrylic should look gummy and soft. Take your orange stick or cuticle pusher and gently scrape the softened acrylic away from your nail, starting at the cuticle and pushing toward the tip.
If it’s not coming off easily, do not force it! That’s how damage happens. Just re-wrap it with a fresh acetone-soaked cotton ball and give it another 5-10 minutes. Repeat this process until all the acrylic is gone.
Once all the acrylic is off, your natural nails will probably look a little rough. That’s normal! Use a gentle nail buffer to smooth out any remaining bits of acrylic and even out the surface of your nail.
Wash your hands with a mild soap to get rid of any acetone residue. Then, give your nails and cuticles some serious love. Apply a generous amount of cuticle oil and hand cream. They deserve it!
Having the right tools makes all the difference between a frustrating mess and a smooth, easy removal. Here are a few things that will make the job a whole lot easier.
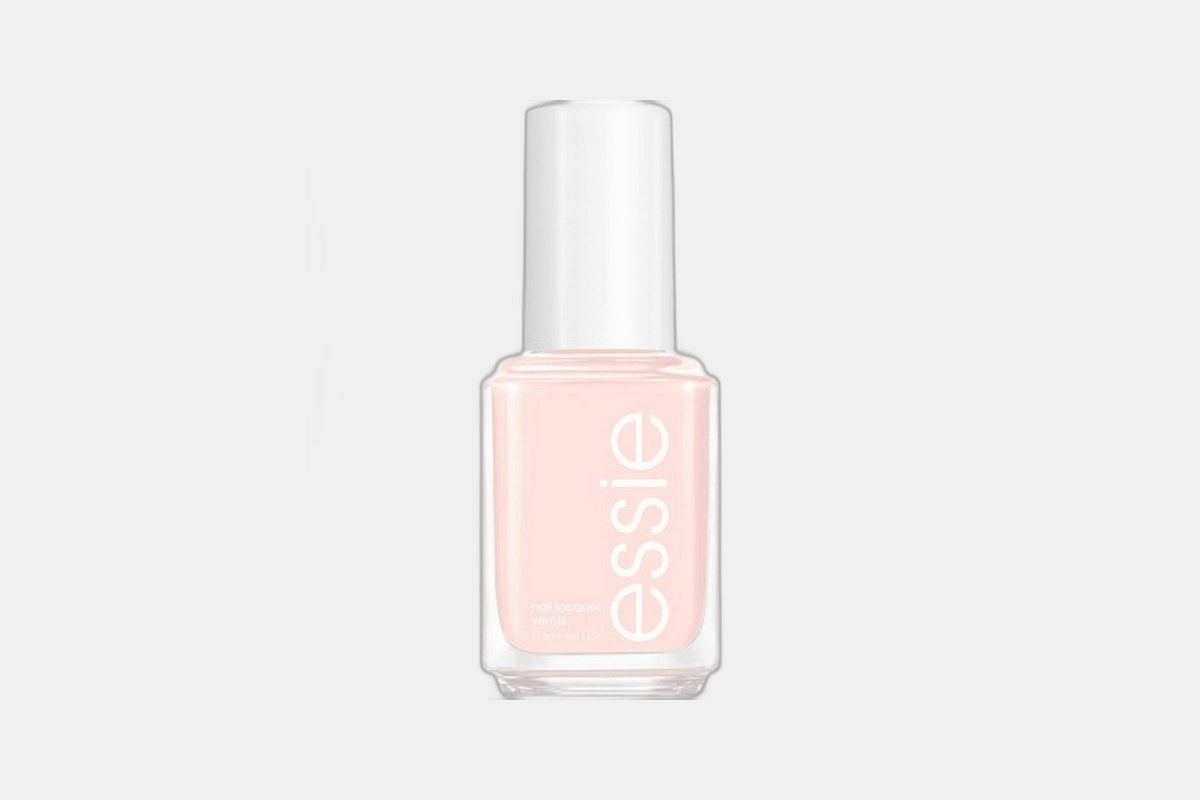
This stuff costs about $8 and is the real deal for melting away acrylics. Your regular nail polish remover just doesn’t have the strength to break down acrylic, so don’t even try it.
This is 100% pure acetone, which is exactly what you need. It works quickly to dissolve the layers without you having to scrape and fight with it. A little goes a long way, so one bottle will last you through several removals.
The Downside: It’s pure acetone, so the fumes are pretty strong. Make sure you’re in a well-ventilated room or near an open window while you work.
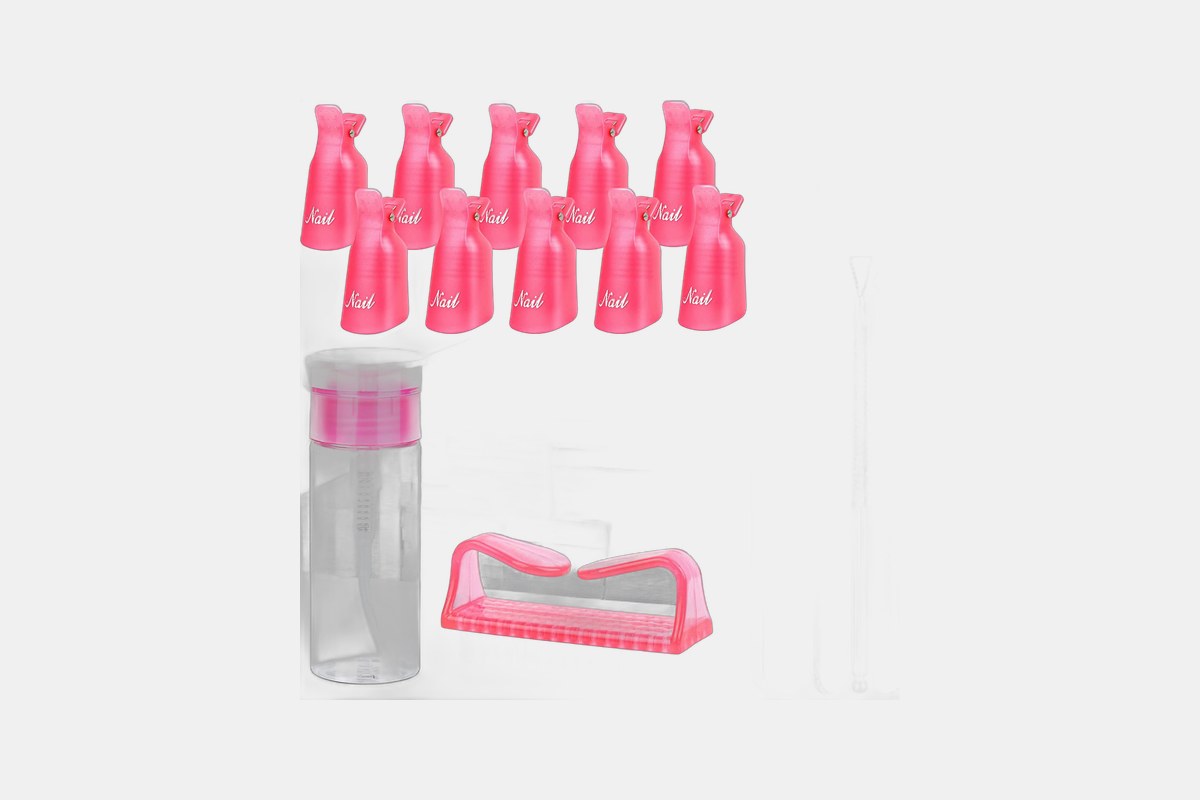
For just $12, this kit is perfect if you don’t want to piece everything together yourself. It comes with nail clips that hold the acetone-soaked cotton balls in place, which are way less fiddly than aluminum foil.
It also includes a cuticle pusher, a file, and remover pads. It’s basically a one-stop-shop for everything you need besides the acetone itself. It’s especially great for beginners.
The Downside: Some people find the nail clips can be a bit snug, especially if you have wider fingers. They still work, but they might feel tight.
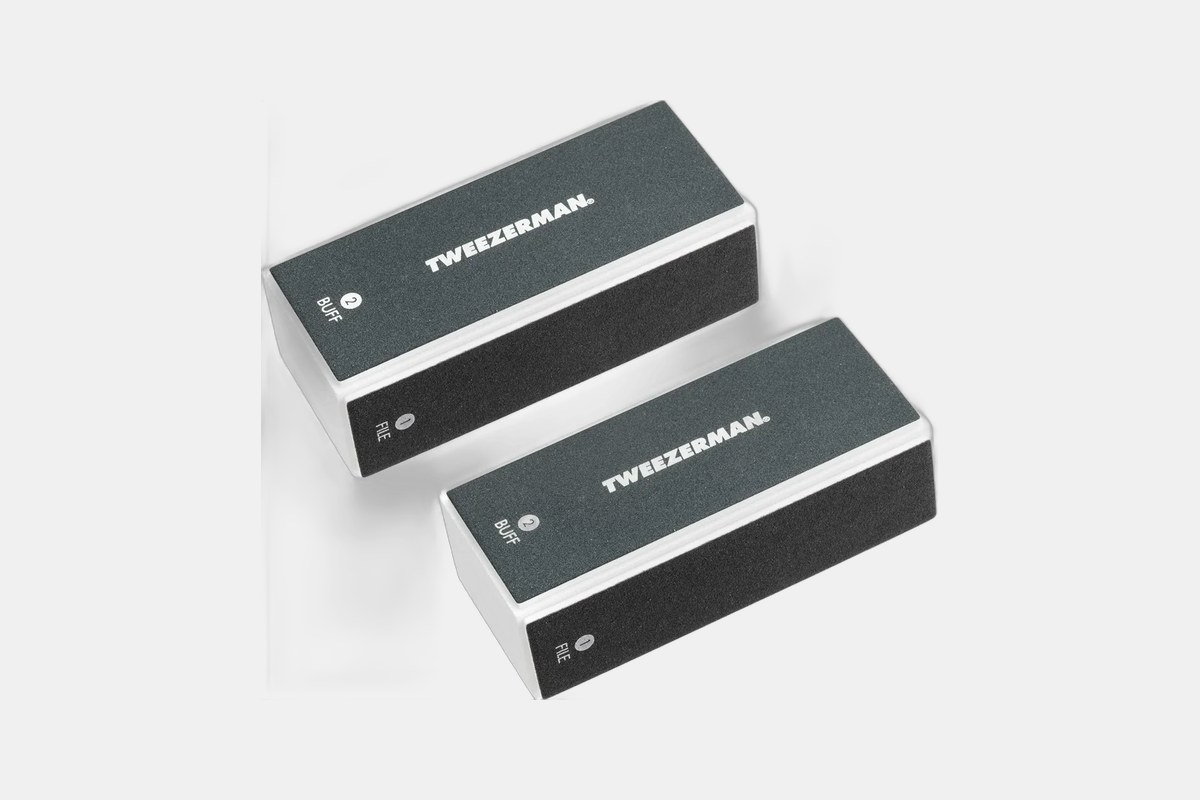
This 2-pack of nail buffers is $11 and is the perfect finishing touch. After you remove the acrylic, your nails need a little TLC to look their best.
This buffer has four different sides to file, buff, smooth, and shine your natural nails back to health. It’s gentle enough that it won’t cause more damage but effective enough to smooth out any lingering rough spots left behind by the acrylic.
The Downside: If you use it a lot, the pads can wear down. But since it comes in a two-pack, you’ll have a backup ready to go.
Congratulations, your nails are free! They might feel a bit thin or weak for a few days, so be gentle with them. This is the perfect time to let them breathe.
Keep them short and load up on cuticle oil and hand cream daily. Give them a week or two off before you consider getting another manicure. Your nails will thank you for it!
All the Different Nail Shapes
Wedding Nail Designs Favorite Wedding Nails
55 Winter Nail Art Ideas
15 Best Nail Polish Organizers
Leave a Reply