9 Lip Plumpers That Made My Lips Fuller, Really
9 Lip Plumpers That Made My Lips Fuller, Really
Let’s talk about false eyelashes. They look incredible, but getting them on can feel like a tiny, high-stakes surgery on your own face. Don’t worry — it’s way easier than it looks.
I promise, you don’t need to be a makeup artist. This false eyelash tutorial will walk you through it, step-by-step. You’ll be a pro in no time.
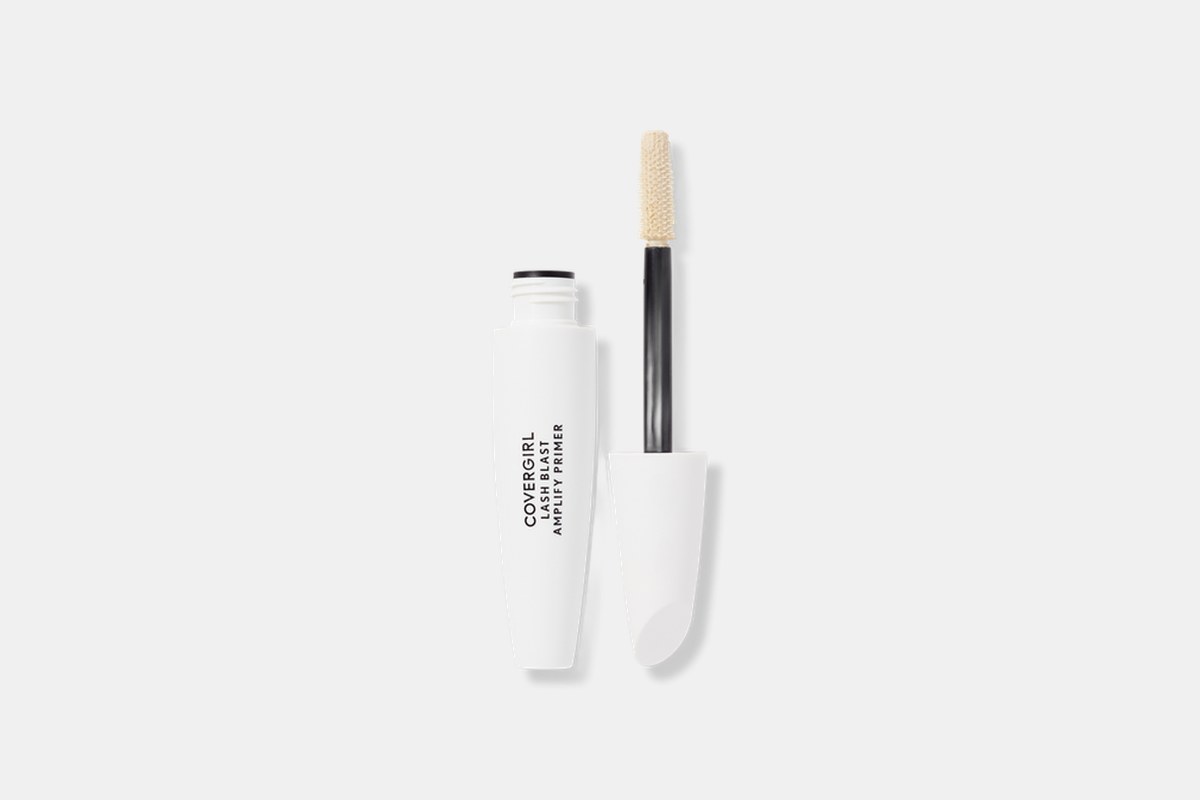
First things first, don’t put a naked lash on a naked eye. You need to give the false lash something to sit on and blend with.
Curl your natural lashes and apply a thin coat of your favorite mascara. This creates a little shelf for the false lash to rest on, which helps everything look seamless.
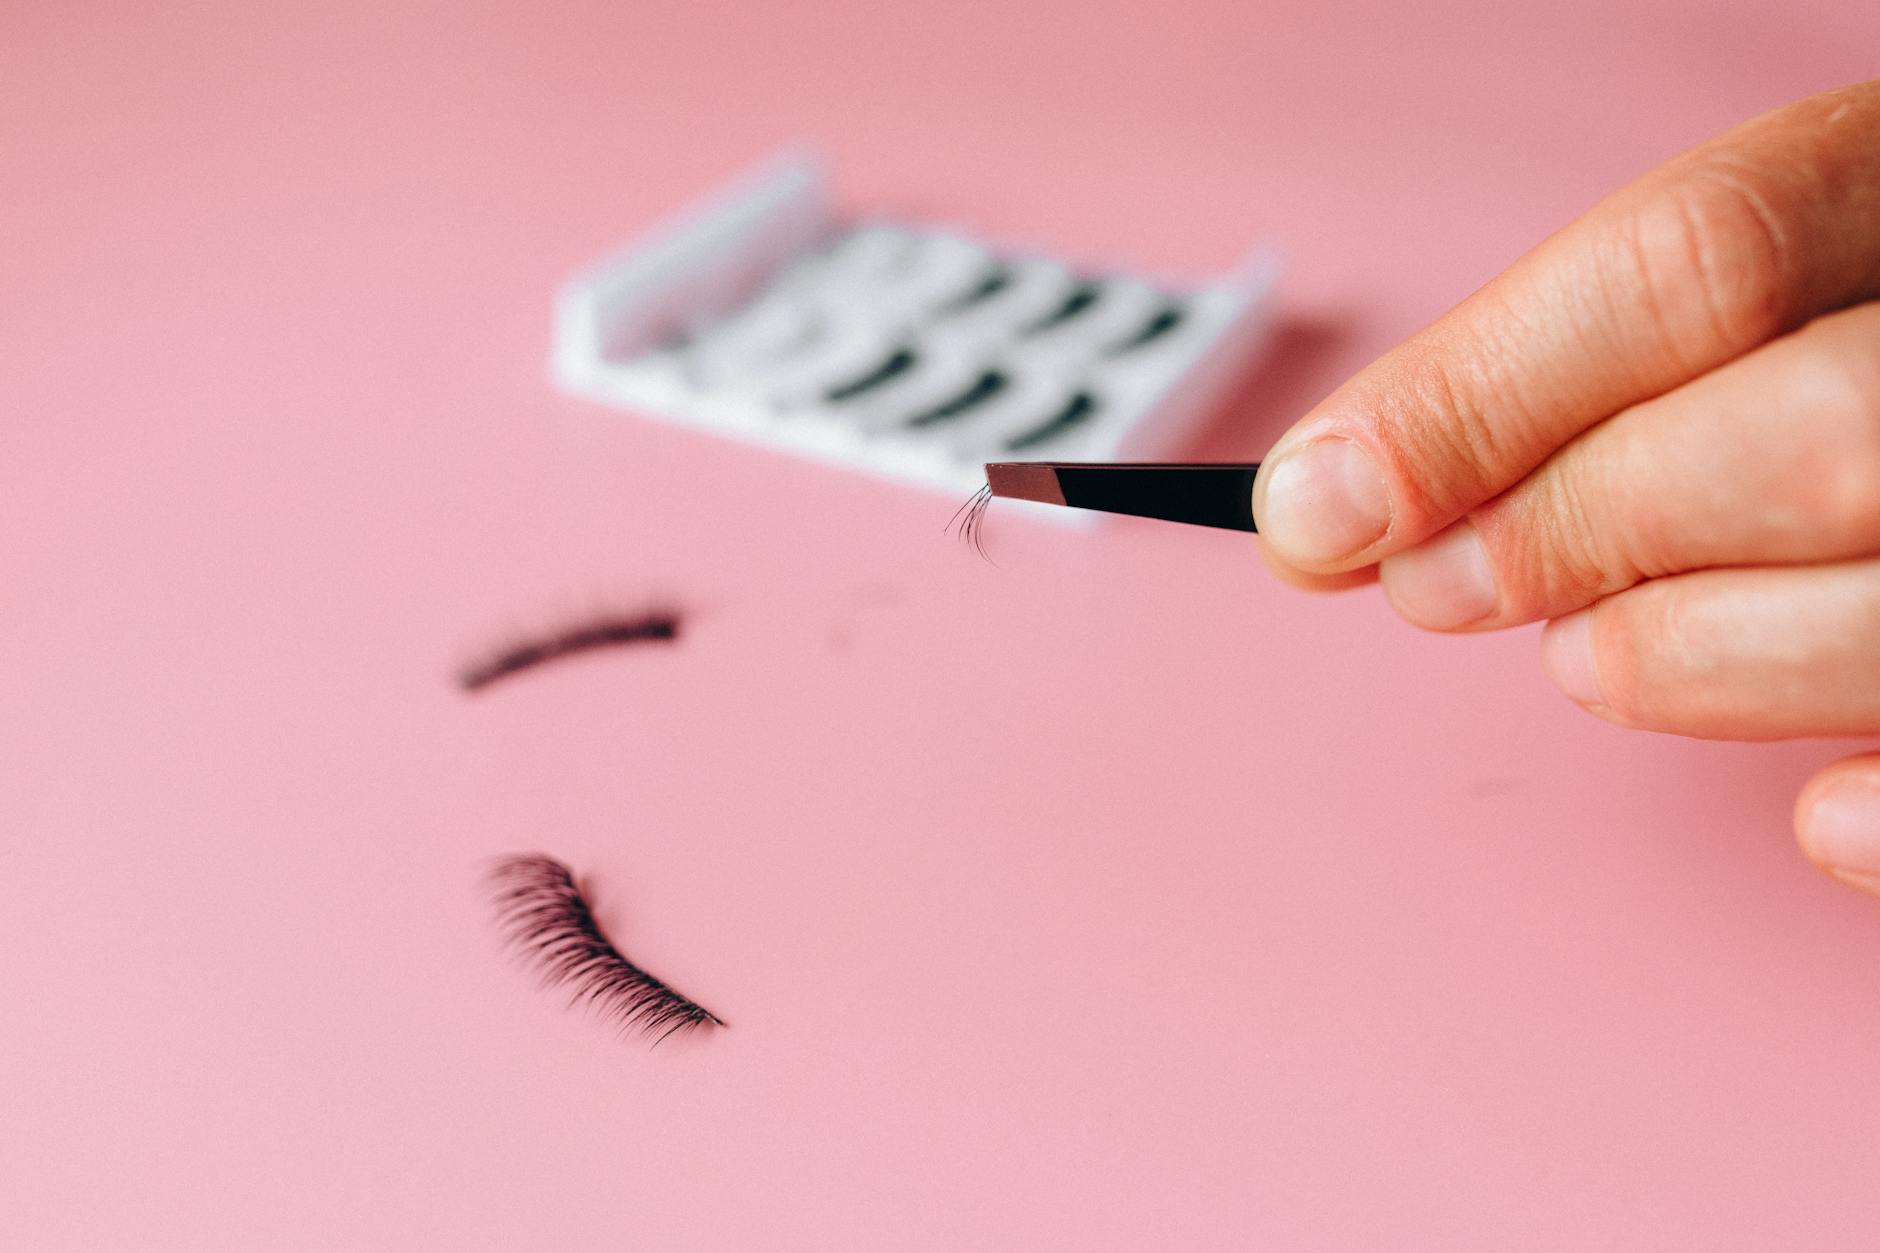
This is the step everyone wants to skip, and it’s the most important one! Almost all strip lashes are made extra long to fit a variety of eye shapes. If you don’t trim them, they’ll poke and irritate your eye all day.
Gently remove the lash from its tray (use tweezers to pull from the band, not the hairs). Rest it along your lash line without any glue. See how much hangs off the outer edge of your eye? That’s what you need to snip.
Always, always, *always* trim from the outer corner, where the lashes are longest. If you trim from the inner corner, you’ll lose that natural, tapered look. Use a pair of small nail scissors for a clean cut.
The trick nobody tells you is that lash glue needs to get tacky before you apply it. If it’s too wet, the lash will just slide around on your eyelid. It’s a mess. Trust me, I’ve been there.
Apply a thin, even line of glue along the lash band. Don’t go crazy here; a little bead is all you need. Now, wait. Set a timer for 30-45 seconds. Wave it around a bit. You’ll know it’s ready when the glue looks a little less shiny and feels sticky to the touch.
Okay, deep breath. The secret to perfect placement is your mirror angle. Place a small mirror on a table so you’re looking *down* into it. This gives you a clear, flat view of your lash line.
Using tweezers or your fingers, place the center of the lash strip as close to your natural lash line as possible. Don’t aim for your skin, aim for the base of your lashes. Once the middle is anchored, gently press down the inner and outer corners.
You’re almost done! Once the glue is dry, gently pinch your natural lashes and the false lashes together. This melds them into one super-lash and gets rid of any weird gaps.
If you can still see the band, take a black liquid or pencil eyeliner and draw a thin line right over it. This little trick hides everything and makes your lashes look like they grew that way.
Before you even measure, take the lash and bend it into a “C” shape a few times. This softens up the band and helps it conform to the curve of your eyelid much more easily. It’s a small thing that makes a huge difference in the strip lashes application.
This individual lashes guide is short and sweet: they’re amazing for a custom look but take more patience. Use tweezers to dip the knotted end of a small lash cluster in glue, wait for it to get tacky, and place it between your natural lashes. Start from the outer corner and work your way in, filling any sparse areas.
It happens to everyone. If a corner pops up during the day, don’t rip the whole thing off! Just use a toothpick to dab a tiny bit of glue onto the loose band, wait 20 seconds, and press it back into place.
And that’s it! Learning how to apply false lashes is all about practice. The first few times might feel clumsy, but you’ll get the hang of it faster than you think.
So go ahead, give it a try. By 2026, you’ll be putting them on in the car (while parked, of course). Welcome to the club.
9 Lip Plumpers That Made My Lips Fuller, Really
13 Best Eyelash Curlers
11 Best Spa Headbands
10 Best Eyelash Primers
Leave a Reply