All the Different Nail Shapes
All the Different Nail Shapes
Ever look at someone’s perfect, long nails and think, “How?!” Chances are, they’re rocking gel nail extensions. And guess what? You can totally do them at home.
Forget those thick, clunky acrylics you might be picturing. Modern gel extensions are light, strong, and look incredibly natural. They’re basically a stronger, longer-lasting version of your favorite gel polish.
We’re going to walk through the whole thing, step by step. Don’t worry — it’s way easier than it looks. You’ll go from bare nails to a flawless set in no time.
Listen up, because this is the part everyone rushes and then wonders why their nails popped off a few days later. Good prep is 90% of the battle for gel nail extensions that actually last.
First, apply a little cuticle remover and let it sit for a minute. Then, use a metal or orangewood stick to gently push your cuticles back. The goal is to clear the dead skin off the nail plate, not to push your cuticles into oblivion.
Take a light grit buffer (a 180-grit is perfect) and gently remove the shine from your natural nail. You are NOT trying to file your nail down! You’re just creating a slightly rough surface for the gel to grab onto.
This is the secret sauce. Wipe each nail with a lint-free wipe soaked in isopropyl alcohol to dehydrate it and remove any oils. Follow that with a bonder or primer specifically for gel. It makes your nail super sticky so the gel has something to cling to for dear life.
We’ll be using full-cover soft gel tips. Think brands like Apres Gel-X or Kiara Sky Gelly Tips. They’re beginner-friendly and soak off, which is a huge plus for your natural nails.
Size a tip for each nail. It should fit perfectly from one side of your nail wall to the other without you having to press it down hard. If you’re between two sizes, always pick the slightly larger one and file the sides down for a custom fit.
Here’s a trick I wish I knew sooner. Lightly etch the inside of the nail tip where it will make contact with your natural nail. You can do this with a primer or even a very gentle e-file bit. This gives the gel an extra-grippy surface inside the tip.
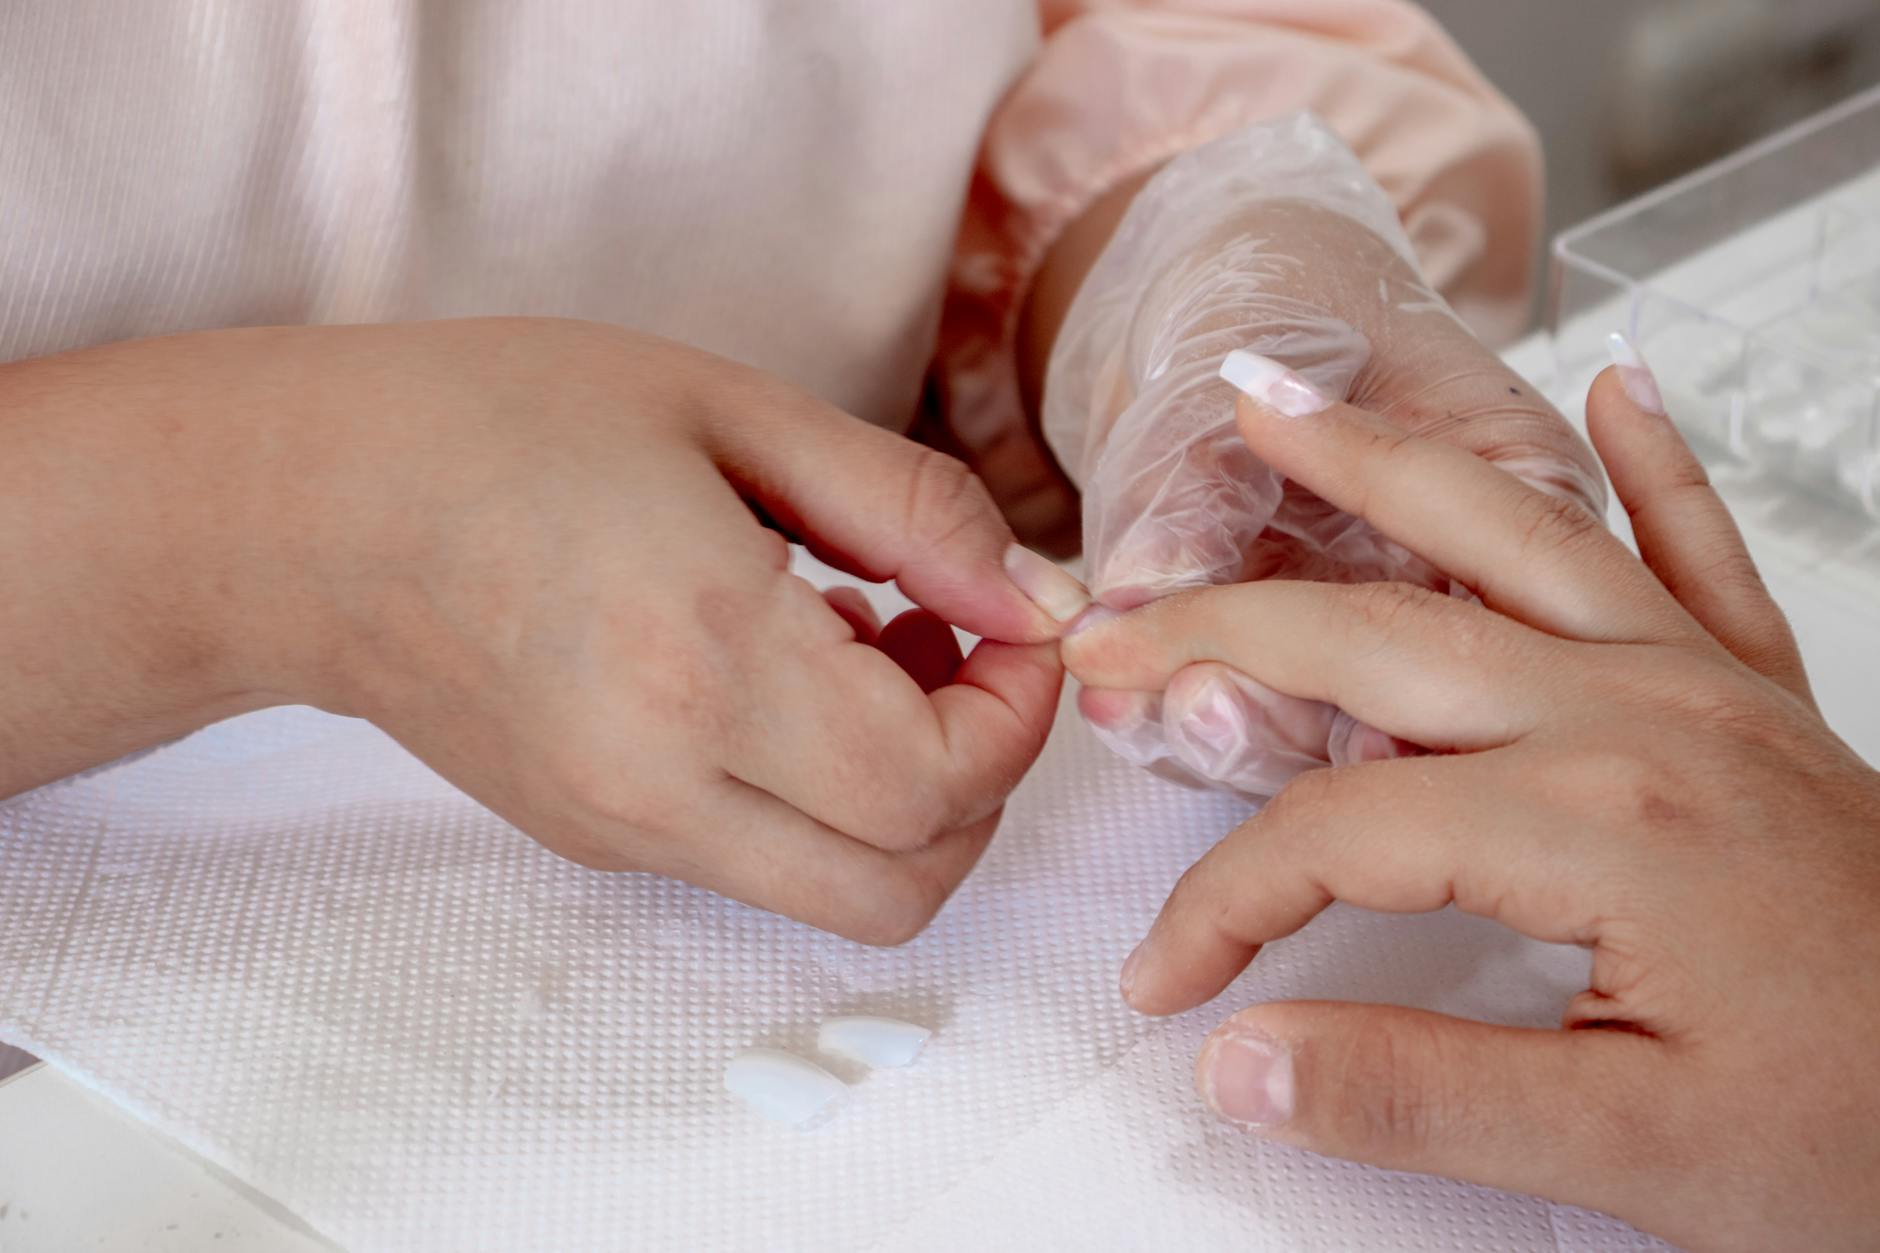
Apply a thin layer of “extend gel” or builder gel to your prepped natural nail. Then, place a small bead of the same gel inside the tip, near the cuticle area. Starting at your cuticle, press the tip down onto your nail at a 45-degree angle, slowly pushing out any air bubbles as you go.
Hold it firmly in place and “flash cure” it for 10-15 seconds with a small, handheld LED light. This locks it in place so you can do the rest of your nails. Once all tips are on, do a full 60-second cure in your big lamp.
The hard part is over! The tips are on and secure. Now it’s time to make them strong and pretty.
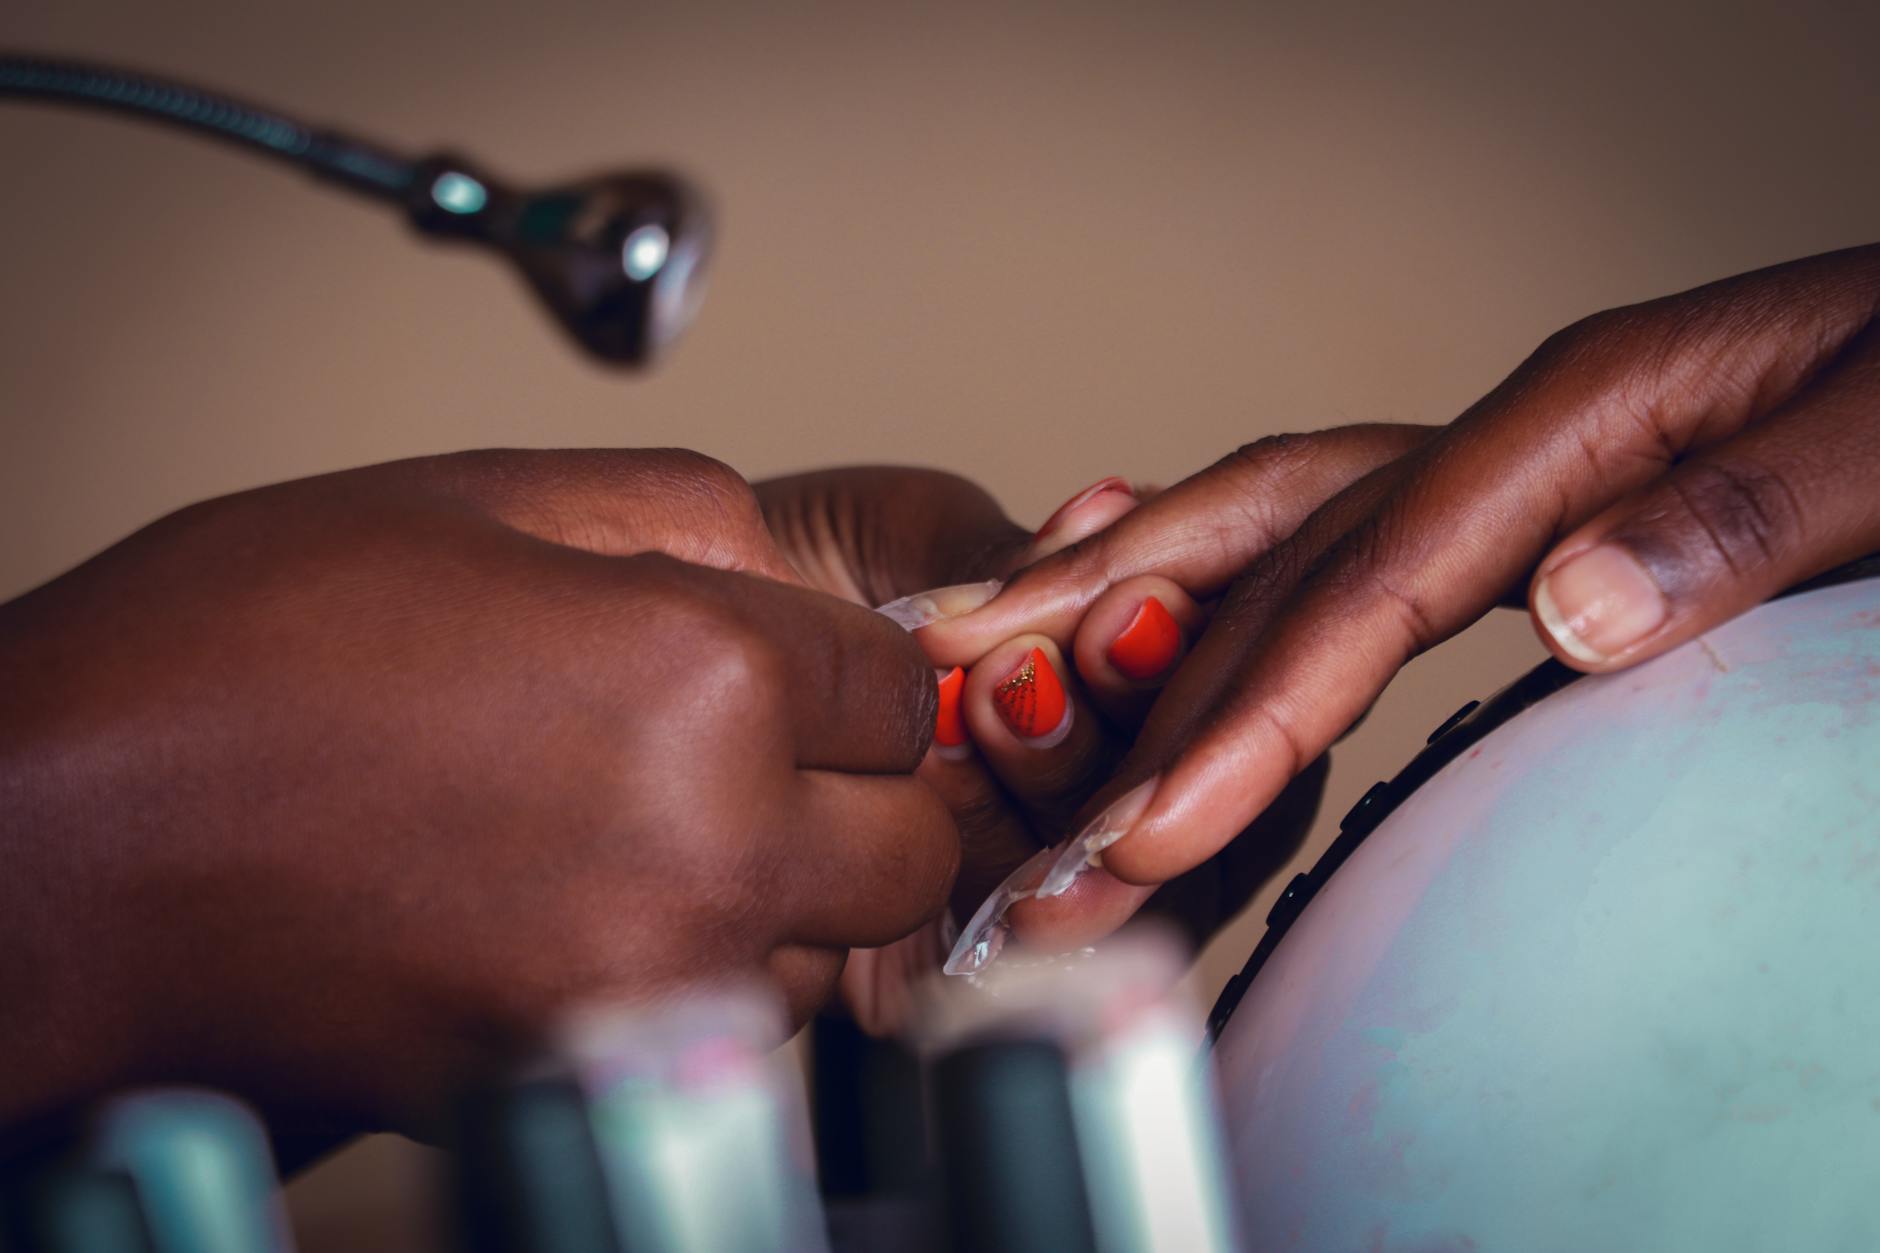
Use a 100/180 grit file to shape the extensions. Want coffin? Almond? Stiletto? Go for it! This is also the time to make sure they’re all the same length.
After shaping, gently buff the entire surface of the extension, especially near the cuticle area, to create a seamless blend. This step is what makes them look like they’re growing right out of your finger.
Wipe all the dust away with alcohol. Now you have the perfect canvas. You can apply your favorite gel polish, go wild with nail art, or just add a shiny top coat for a chic, natural look. Remember to cure each layer of polish according to its instructions.
Air bubbles are your worst enemy. They create weak spots where lifting starts. When you press the tip on, watch the gel spread to the free edge to ensure there are no trapped air pockets.
That little handheld lamp for flash curing? It feels extra, but it makes the application process so much less stressful. Trying to hold a nail tip perfectly still while reaching for your big lamp is a recipe for disaster. I learned that the hard way.
Remember that these are soft gel extensions, which means they soak off with acetone. When you’re ready for a new set, you can file off the top coat and soak them off instead of filing everything down to your natural nail.
Finally, cuticle oil is your best friend. Once you’re all done, drench those cuticles in oil. Do it daily! It keeps the skin healthy and your manicure looking fresh for weeks.
See? Not so scary. You just learned the entire process for doing your own gel nail extensions. It takes a little practice, and your first set might not look like it came from a salon that opened in 2026, but you’ll get the hang of it fast.
Be patient with yourself, follow the prep steps religiously, and have fun with it. Now go enjoy your gorgeous new nails—you made them yourself!
All the Different Nail Shapes
Wedding Nail Designs Favorite Wedding Nails
55 Winter Nail Art Ideas
15 Best Nail Polish Organizers

Leave a Reply