37 Haircuts and Styles That Make Thin Hair Look Thicker
37 Haircuts and Styles That Make Thin Hair Look Thicker
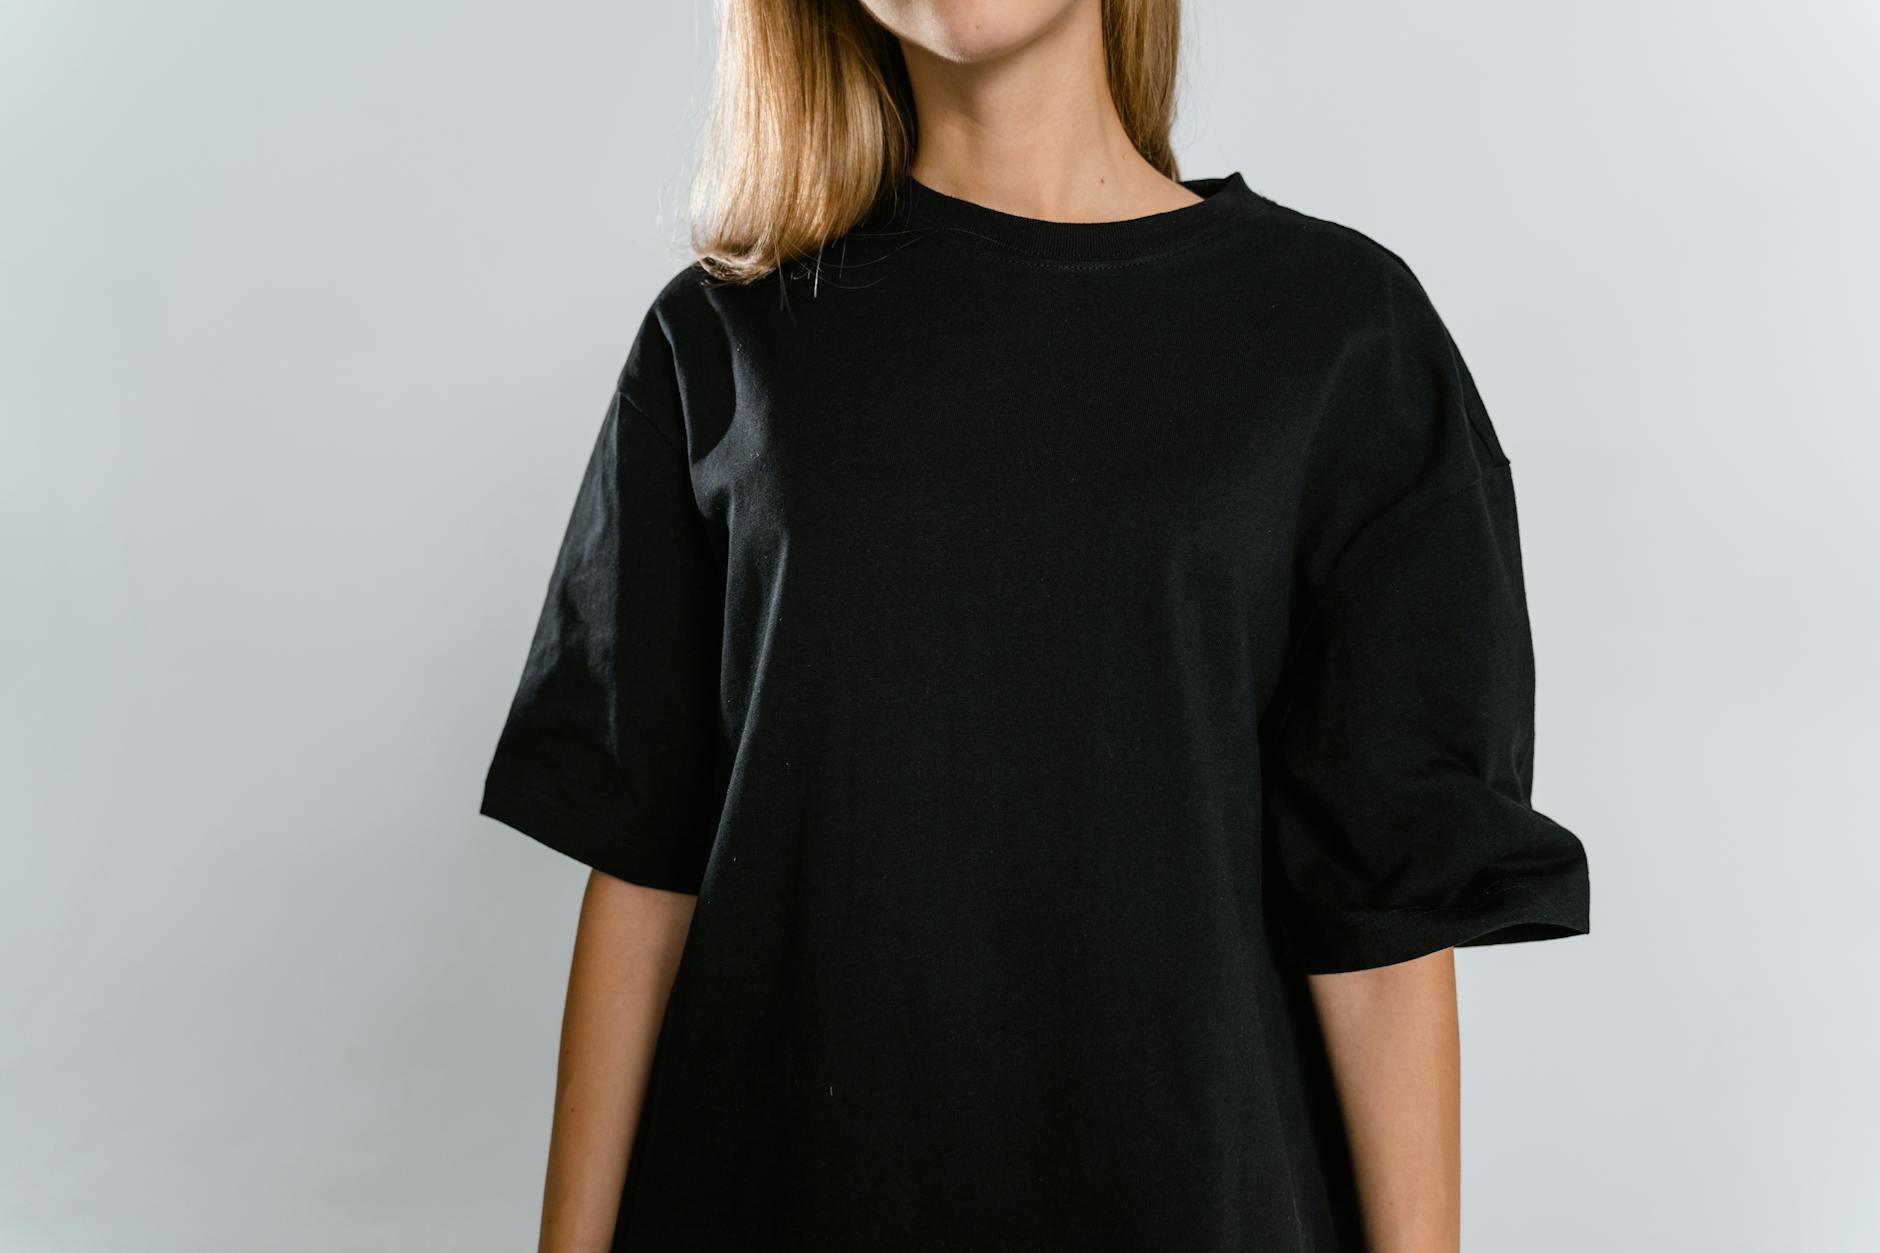
We’ve all been there. You find the perfect band tee online or a cool vintage shirt, but when it arrives, it fits like a tent. Don’t send it back just yet!
I’m going to show you exactly how to make a shirt smaller. It’s surprisingly easy, and you probably already have everything you need. We’re going to use the magic of heat to get that oversized shirt fitting just right.
Before you do anything, find the tag on your shirt. The material will decide if this whole project is a brilliant success or a waste of time.
If it says 100% cotton, you’re in luck. Cotton is the easiest fabric to shrink. A cotton/polyester blend will also shrink, but not as much. The more polyester, the less it’ll change.
If your shirt is 100% polyester, rayon, or spandex, you should probably stop here. High heat can damage or melt these synthetic fabrics without making them any smaller. This guide is for our cotton-loving friends.
This is the first thing you should always try. It’s gentle enough that you’re unlikely to turn your XL shirt into something for a toddler. You can always shrink more, but you can never un-shrink.
Toss the shirt into the washing machine by itself. You don’t want any colors bleeding onto your other clothes. If the shirt is clean, you don’t even need detergent.
Set the water temperature to the hottest possible setting and run a normal cycle. This initial blast of heat starts the shrinking process.
As soon as the wash cycle is done, move the shirt straight to the dryer. Don’t let it sit around and air dry.
Put your dryer on its highest heat setting—often called “Cotton” or “High”—and let it run until the shirt is completely dry. The combination of the hot wash and hot dry is what really coaxes those cotton fibers to tighten up.
Pull it out and see how it fits! For many shirts, this one cycle is enough to do the trick. If it’s still a bit loose, you can run it through the same hot wash/hot dry process again. Just know that it will shrink less and less each time.
Okay, so the washer didn’t quite cut it. If you have a stubborn 100% cotton shirt that needs a serious size adjustment, it’s time to bring out the big guns. I messed this up the first time by letting the water boil with the shirt in it — don’t do that!
Find a large, clean stockpot. It needs to be big enough for the shirt to be fully submerged. Fill it with water and bring it to a rolling boil on the stove.
Once the water is boiling, turn off the heat completely. Using a pair of kitchen tongs, carefully push the shirt down into the hot water. Please don’t just drop it in and splash yourself.
Let the shirt soak in the hot water for about 10-15 minutes. The longer you leave it, the more potential shrinkage you’ll get.
Use your tongs again to pull the shirt out of the pot. Let it cool for a minute before you try to handle it. Wring out the excess water and toss it directly into the dryer on the highest heat setting. This method gives you the most shrinkage possible.
Over the years, I’ve learned a few tricks to get this right. These will help you avoid common mistakes.
The biggest mistake is over-shrinking. You can’t go back. If you’re nervous, pull the shirt from the dryer when it’s still slightly damp and let it air dry the rest of the way. This gives you way more control.
Remember that heat often shrinks a shirt more in length than in width. If your shirt is already a bit short, be careful! You might end up with a belly shirt.
Got a shirt with a cool graphic on it? High heat can make prints crack and peel. To protect it, turn the shirt inside out before you wash, boil, or dry it. It helps a ton.
That’s really all there is to it! Shrinking a shirt is more of an art than a science, so don’t be discouraged if it takes a couple of tries to get the hang of it.
My best advice? Try your first attempt on a shirt you don’t absolutely love, just in case. Once you get a feel for how your machines work, you’ll be a pro at making shirts smaller in no time.
37 Haircuts and Styles That Make Thin Hair Look Thicker
14 Best Chunky White Sneakers
20 Best Clogs
12 Best Jewelry Cleaners