Best Body Wash For Skin
Best Body Wash For Skin

Tired of expensive waxes and razors that leave your skin angry? Let me introduce you to your new best friend: DIY sugar wax. It’s made with just three ingredients you probably have in your kitchen right now. Seriously.
It’s an ancient hair removal method that’s way gentler on your skin because it doesn’t stick to live skin cells. And the best part? You can make a huge batch for just a few bucks. Don’t worry — it’s way easier than it looks.
Let’s gather our supplies. It’s not a long list, I promise. You’re just grabbing a few things from the pantry.
For the wax itself, you’ll need:
For the tools, grab a heavy-bottomed saucepan, a candy thermometer (this is the secret weapon, trust me), and a heat-safe glass jar for storage.
Okay, ready? Dump the sugar, lemon juice, and water into your saucepan. Give it a quick stir with a spoon just to get everything acquainted and a little damp.
That’s it for this step. See? We’re already making progress.
Now for the only part that requires your attention. Put the pan on medium-low heat. You want to dissolve the sugar slowly, not scorch it. I burned my first batch by rushing this, so please learn from my sad, smoky mistake!
Stir it constantly until the sugar dissolves and the mixture starts to bubble. Once it’s simmering, stop stirring and just let it cook. Clip your candy thermometer to the side of the pot so the tip is submerged but not touching the bottom.
You’re aiming for the “soft ball” stage, which is around 245-250°F (118-121°C). As it cooks, the mixture will darken into a beautiful honey or amber color.
If you don’t have a thermometer, you can use the color as your guide. You’re looking for a warm, golden honey color. If it looks like dark tea or caramel, you’ve gone too far and it’ll be too hard to use once it cools.
Here’s the trick nobody tells you: keep a small bowl of ice water nearby. Carefully spoon a tiny drop of the hot syrup into the water. If it forms a little soft, squishy ball you can pick up with your fingers, it’s done! If it just dissolves into threads, it needs more time.
Once it hits the right temperature and color, immediately take it off the heat to stop the cooking process. Carefully pour the molten-hot sugar into your glass jar. Be super careful here — sugar burns are no joke.
Now for the hardest part: waiting. You need to let it cool on the counter for at least 30-45 minutes. It should be warm to the touch, but not hot. The perfect consistency is like thick, gooey honey that you can scoop without it running everywhere.
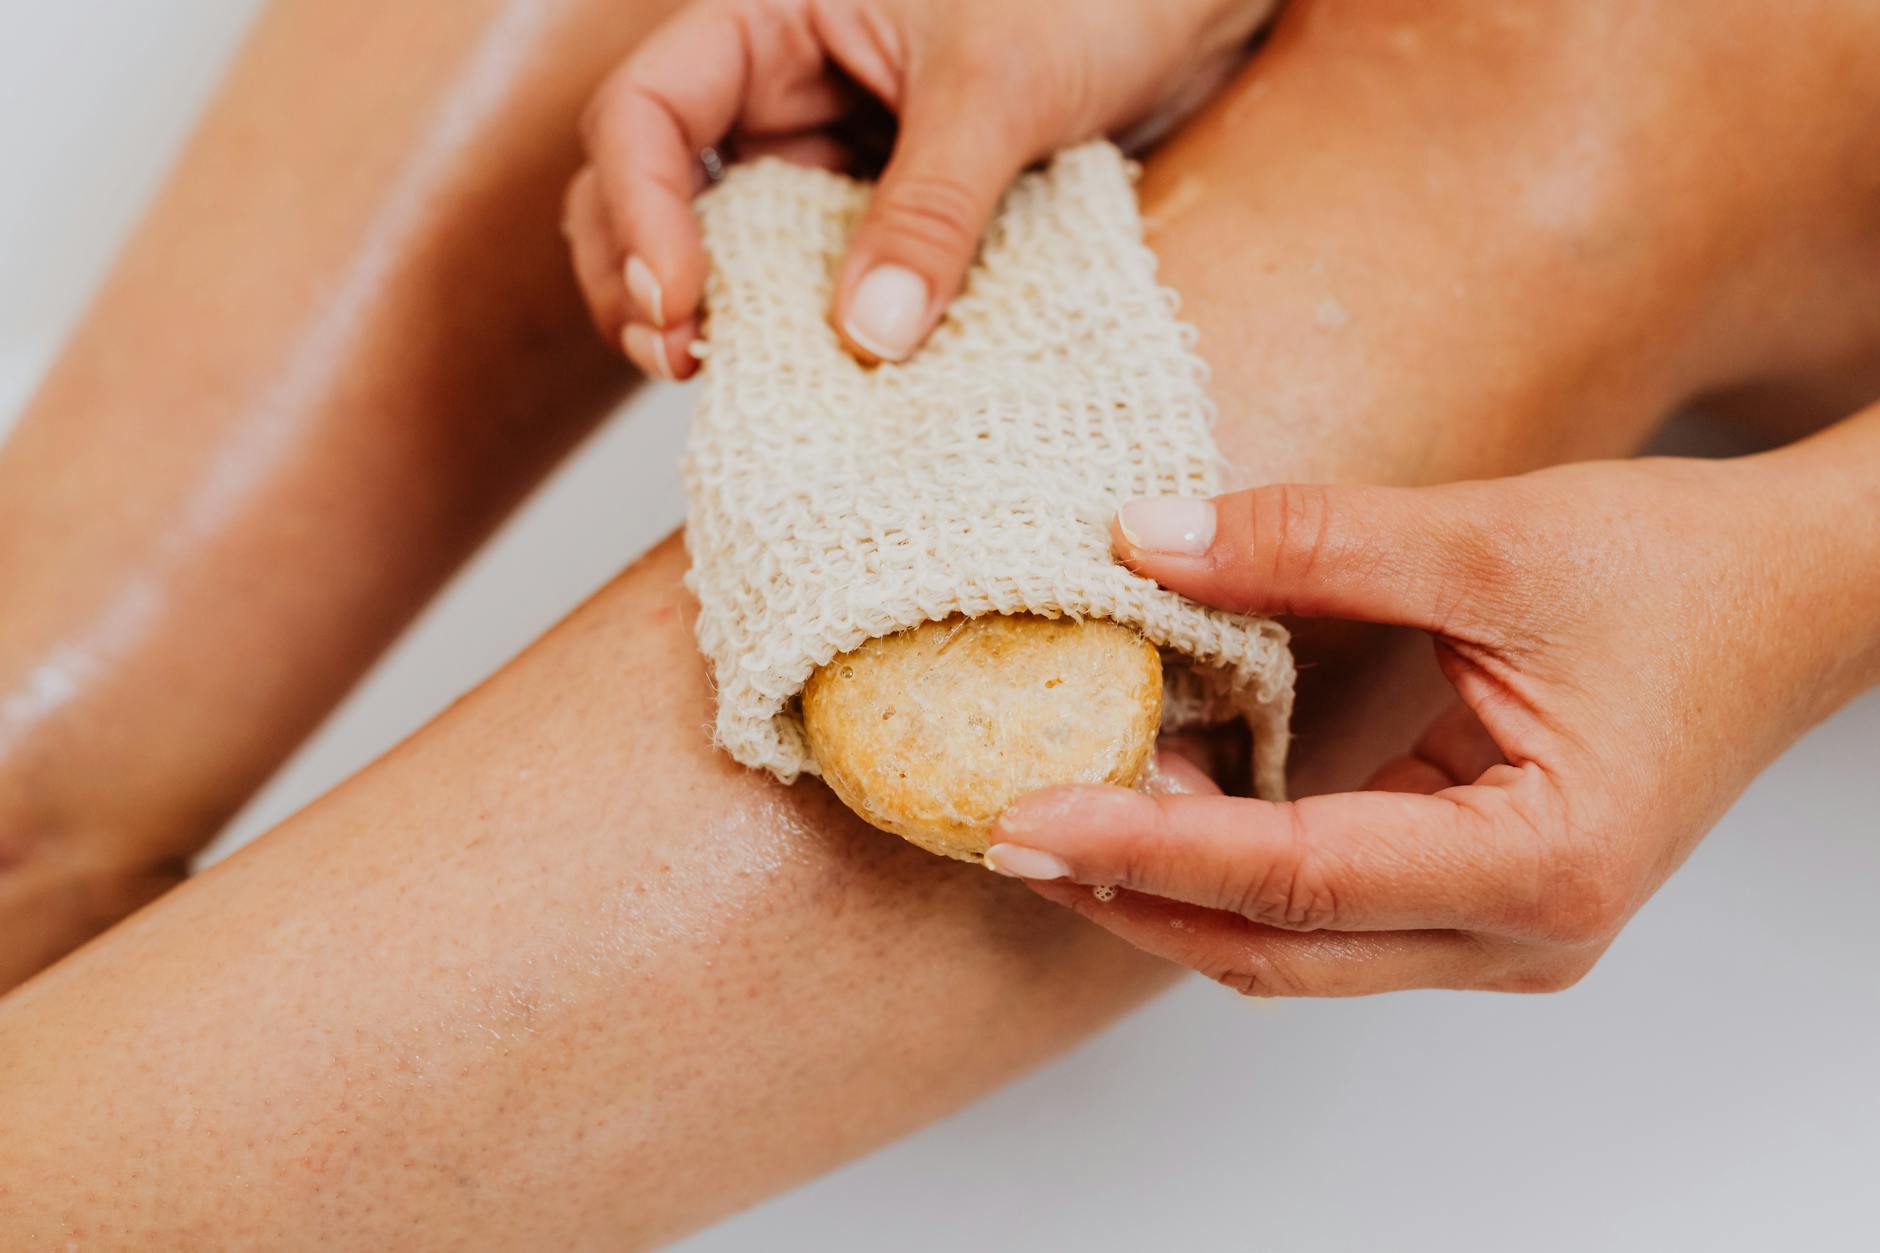
Before you start, make sure your skin is clean, dry, and free of any lotions or oils. A little baby powder or cornstarch on the area can help absorb any moisture and help the wax grip the hair.
Using your fingers or a dull knife, spread a thin layer of the warm wax *against* the direction of your hair growth. Press it down a bit, then pull the skin taut and flick the wax off quickly *in* the direction of hair growth. It takes a little practice, but you’ll get the hang of the motion!
If cooking up a batch of sticky sugar sounds like too much work, I get it. Sometimes you just want to get straight to the hair removal. These kits are fantastic and take all the guesswork out of sugaring at home.
This kit from Parissa costs about $20. It’s perfect if you’re new to this whole thing or just have really sensitive skin.
The roll-on applicator is a lifesaver for keeping the mess contained, and the organic formula includes chamomile to soothe your skin. It even comes with two different-sized roller heads for your body and face.
Cleanup is a breeze since the wax is water-soluble, and the fabric strips are reusable. Just rinse with warm water and let them air dry for next time.
The Downside: As the wax cools down during your session, the roller ball can get a little sticky and clogged. You might need to warm it up again slightly to get it rolling smoothly.
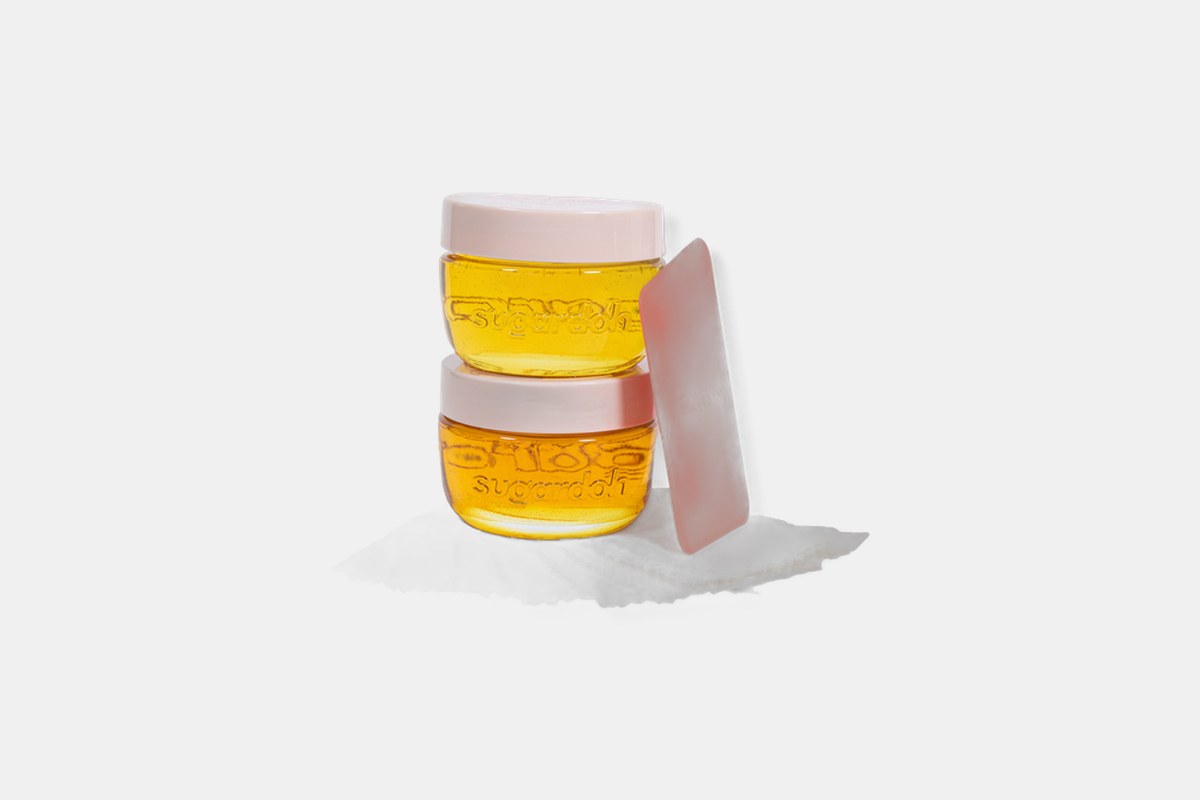
For around $50, the Sugardoh kit gives you everything you need for a full-body session. People say it’s way less painful than traditional waxing.
You don’t even need to heat this stuff up! The kit comes with two different paste firmness levels (medium and firm) so you can tackle both fine and coarse hair. Reviewers rave about how it reduces ingrown hairs and leaves them smooth for weeks.
The Downside: The traditional hand-flicking method takes some practice to master. Your first few tries might be a bit messy, so lay down a towel.

At just $15, Nad’s kit is a great budget-friendly option for people who love natural ingredients. The formula is just sugar and honey.
You don’t need a microwave for this one; it’s designed to warm up with just the heat from your hands. It’s hypoallergenic and gentle enough for both your face and body, and the results last for a long time.
The Downside: The jar is on the smaller side. If you’re planning on doing large areas like your full legs, you might need to buy a couple of kits.
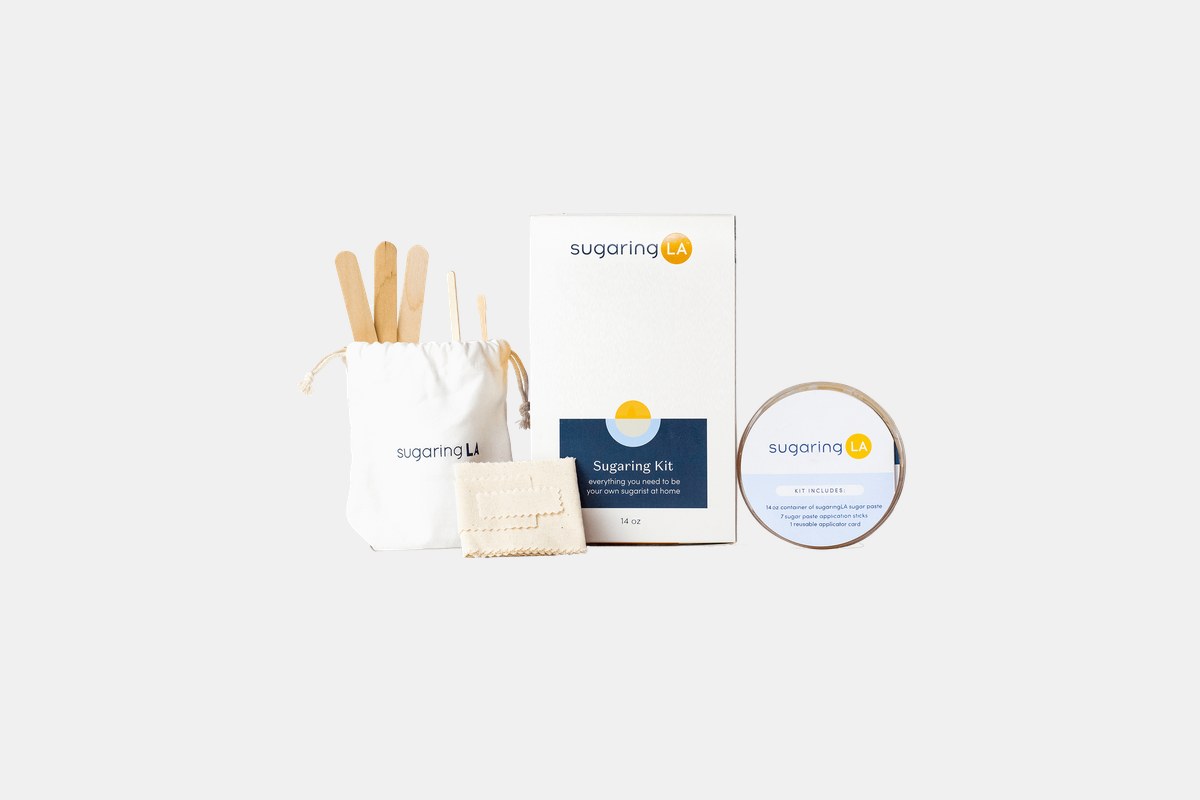
This kit from sugaringLA runs about $40 and is a favorite among eco-conscious users. It’s vegan, organic, and all the tools are biodegradable.
It’s known for being super effective yet gentle, even on sensitive bikini areas. The kit comes with a generous 10oz tub of sugar paste, which is enough for multiple sessions. Users love how smooth it leaves their skin.
The Downside: The paste is quite soft, so you have to work quickly. If you’re too slow, it can get warm from your body heat and become a little messy to handle.
If your DIY wax is too hard once it’s cooled, you can pop it in the microwave for 5-10 seconds to soften it up. If it’s too sticky and goopy, you probably undercooked it. You can try putting it back on the stove to cook a bit longer.
Always exfoliate the day before you sugar to help prevent ingrown hairs. Afterward, soothe your skin with some aloe vera or a gentle, fragrance-free moisturizer.
You did it! Welcome to the world of smooth skin and saving a ton of money. It might feel a little awkward at first, but with a little practice, you’ll be a sugaring pro in no time.
Best Body Wash For Skin
How To Get Rid of Cellulite: 13 Tips from Dermatologists
13 Best Soaps
Tattoo Aftercare 101: How to Take Care of Your New Ink