All the Different Nail Shapes
All the Different Nail Shapes
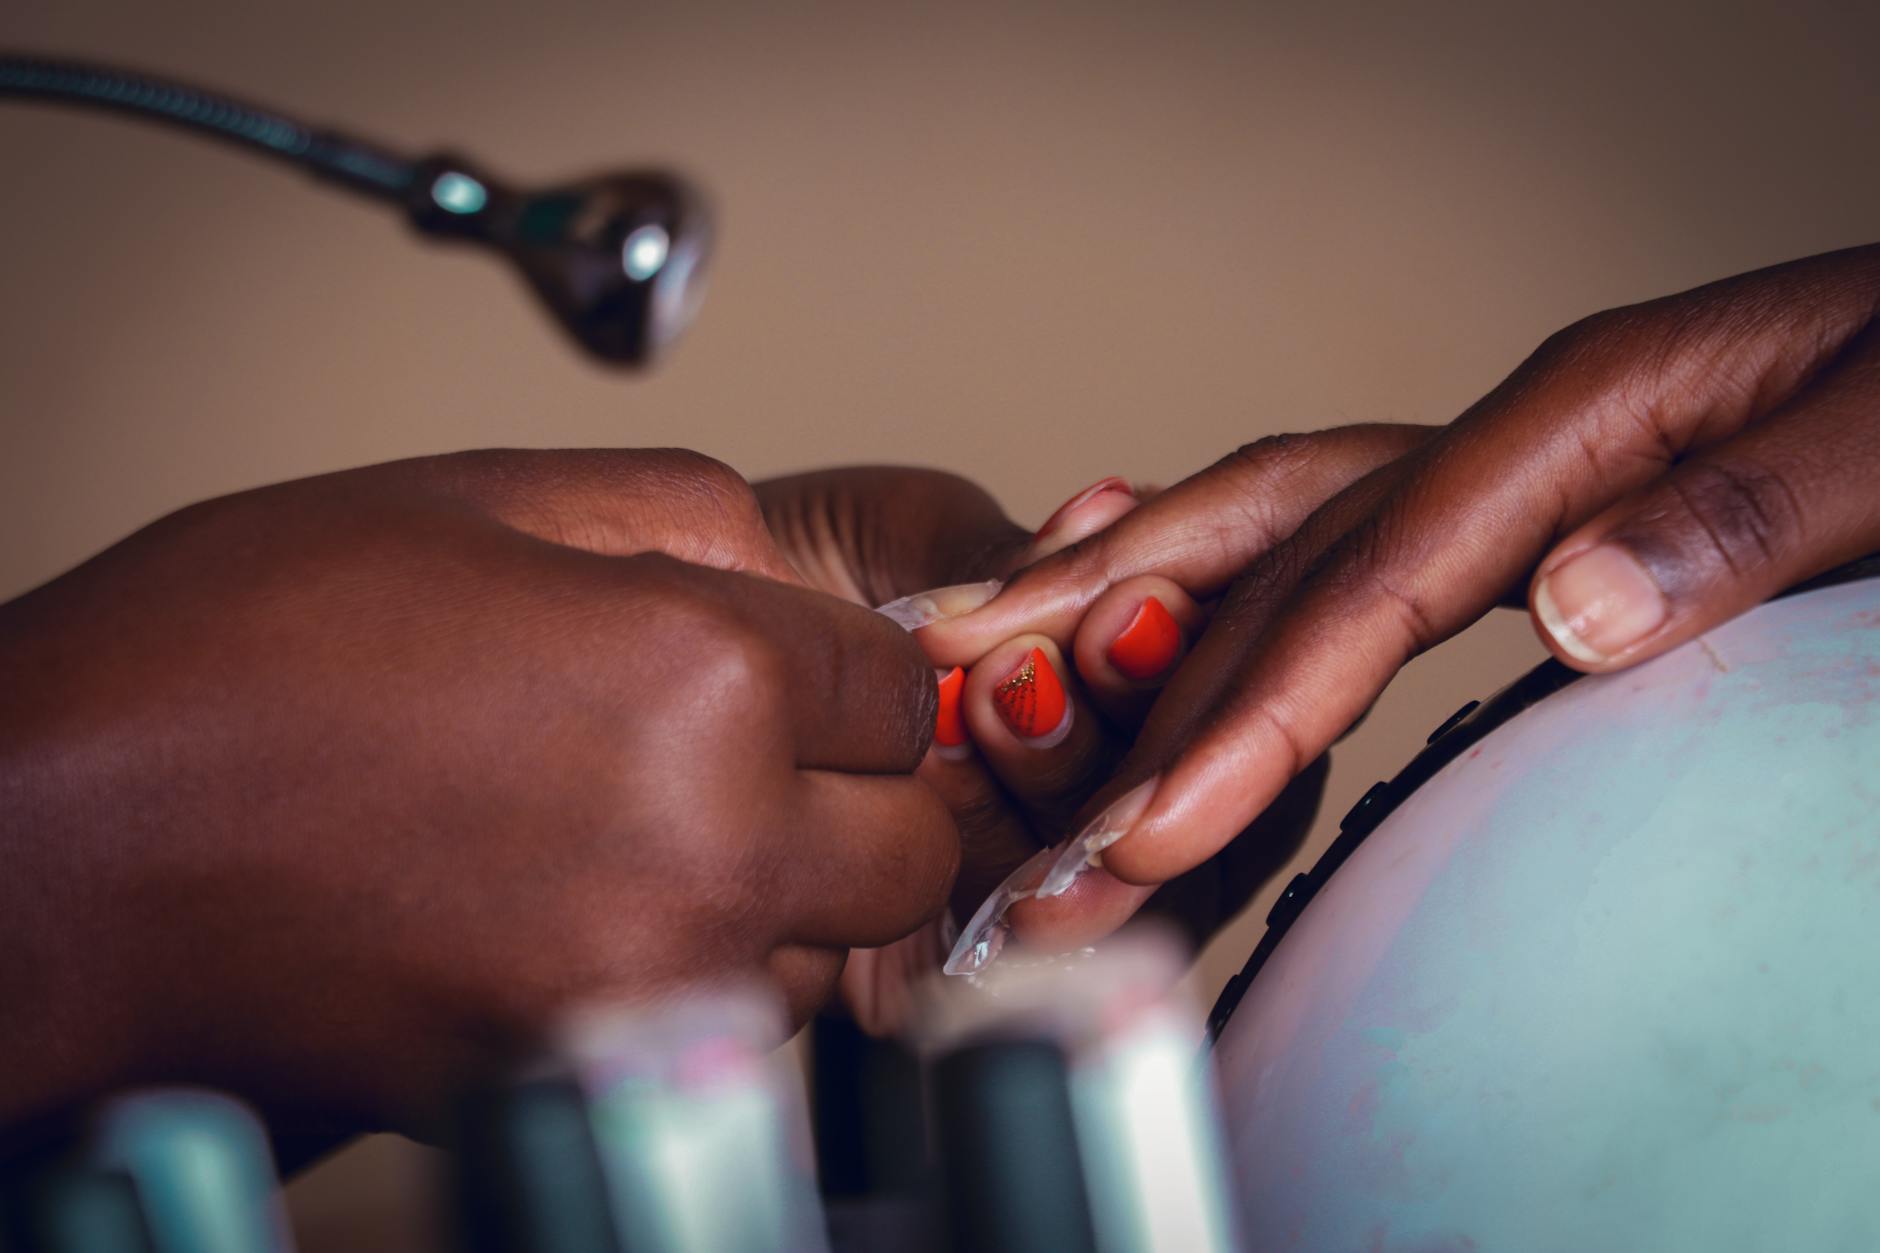
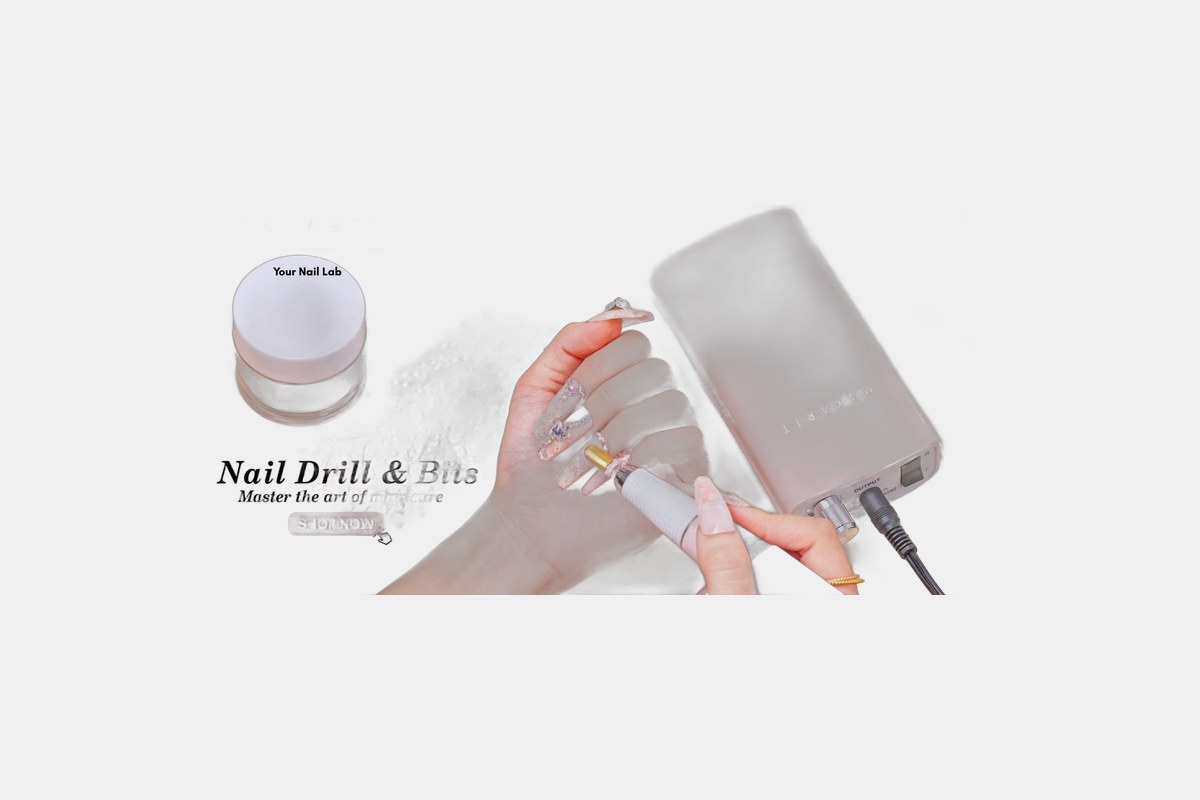
Let’s be real: I love the look of long, perfect nails, but I do not love salon prices or trying to book an appointment. So, I went on a mission to master at home polygel nails. It’s the perfect middle ground between gel polish and acrylics—stronger and more durable than gel, but way more flexible and lighter than acrylic. No harsh monomer smell, either.
After turning my apartment into a mini nail lab and testing dozens of kits, I’ve seen it all. The good, the bad, and the straight-up sticky messes. I sculpted, cured, and filed my way through the most popular options to find the polygel nail kits that are actually worth your money in 2026. These are the ones that make DIY nails feel less like a chore and more like a fun little self-care moment.

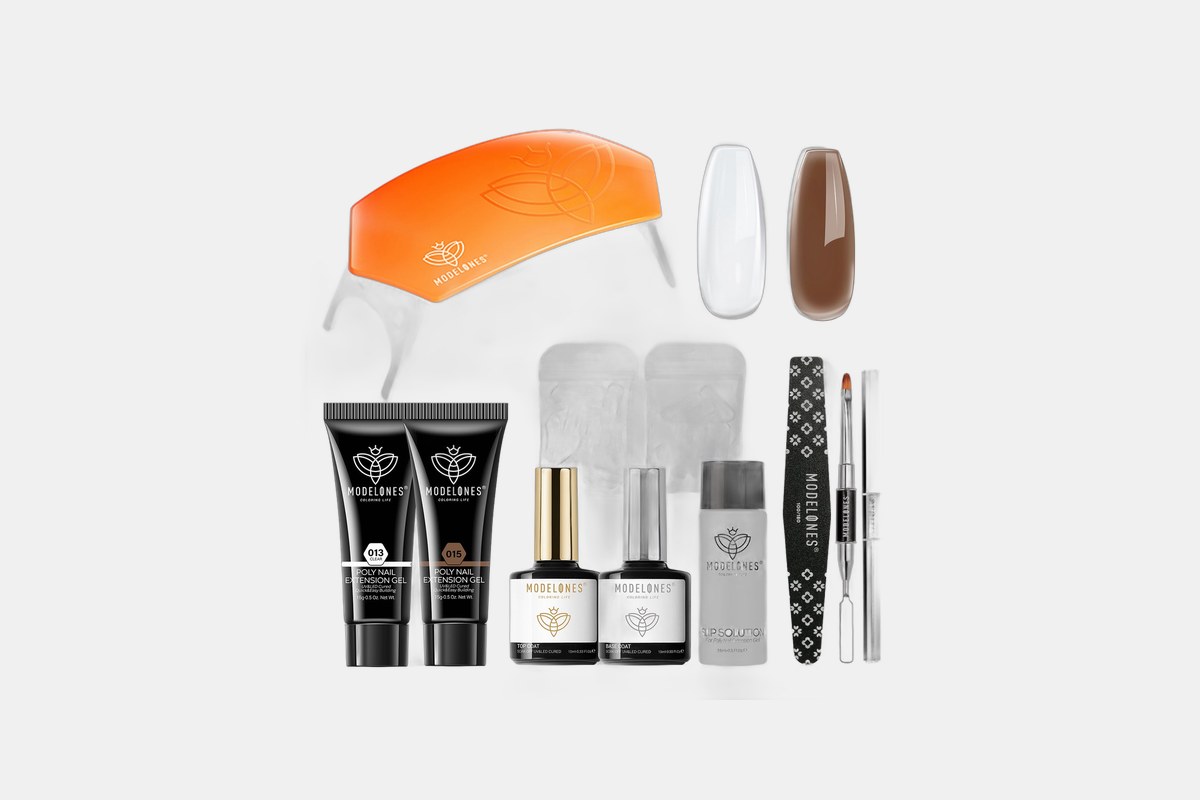
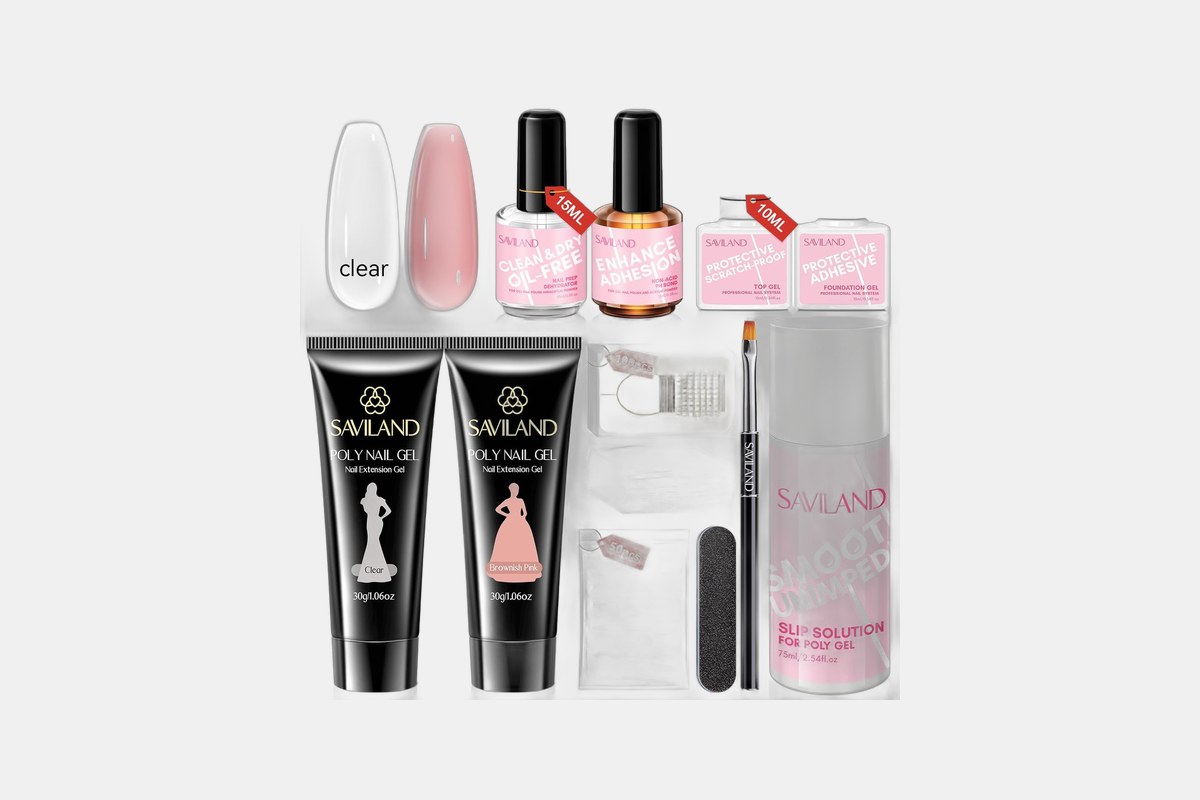
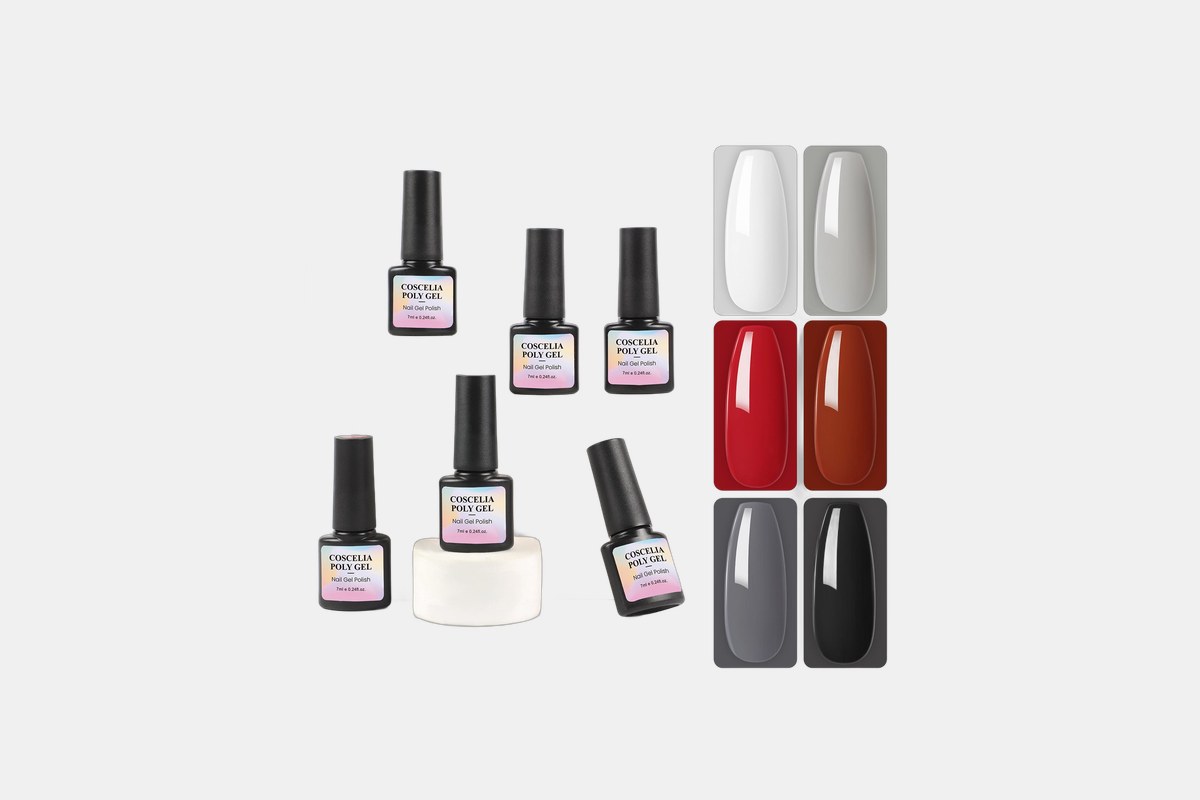
This kit costs just $25 and it’s my top pick for a reason. It truly works for everyone, whether you’re a total beginner or have been doing your own nails for years. The formula is so user-friendly and doesn’t get sticky or runny when you’re trying to shape it with the slip solution.
It comes with everything you need, including dual forms, a UV lamp, and six gorgeous, vivid colors. I was seriously impressed with how long my mani lasted. I got almost three weeks of wear with zero lifting, which is basically unheard of for a DIY set.
The Downside: The included UV lamp is pretty small. It works perfectly, but you can only cure four fingers at a time, then your thumbs separately. Forget about doing two hands at once.
At only $15, you literally can’t beat this price. It’s the number-one bestselling kit on Amazon, and I totally get why. You get a full setup—lamp, tools, glitter, and multiple colors—for less than the cost of a single salon manicure.
The quality is surprisingly solid for the price point. The application was quick once I got the hang of it, and the seal you get with the top coat is super glossy and protective. It’s an amazing entry point into the world of at home polygel nails.
The Downside: The instructions are a little sparse. You’ll definitely want to pull up a YouTube tutorial to walk you through the first application.
If you’re nervous about making a mess, grab this $20 kit. I found the polygel consistency to be perfect for beginners—it’s not too sticky and not too stiff, so you have plenty of time to pat it into shape without it running all over your cuticles.
The 48W LED lamp it comes with is also a huge plus. It cures the gel fast and hard, so you’re not sitting around waiting forever. My nails felt super durable and were so easy to file into a perfect shape. A truly foolproof option.
The Downside: The color variety is a little basic. You get the standard pinks and nudes, but not much else.
For $30, this kit gives you serious salon-quality results. Makartt is a brand nail techs actually use, and you can feel the difference in the formula. It’s smooth, self-leveling, and incredibly strong once cured.
I was obsessed with all the extras in this kit. It comes with glitter, rhinestones, and other fun accessories to get creative with your nail art. The powerful UV lamp cures everything in a flash, making the whole process feel very professional.
The Downside: It’s one of the more expensive kits on the list, but you’re paying for that professional-grade quality.
If your main goal is strength and getting your nails to last for weeks on end, you need this $27 kit. The structure this polygel creates is so robust. It’s amazing for adding an strengthening overlay to natural nails or for creating long, durable extensions.
Even though the formula is tough, it’s surprisingly easy to mold and shape. The instructions were also super clear, which is a huge bonus. My set lasted for over three weeks with no chips or breaks.
The Downside: It does seem to take a little longer to cure fully compared to some of the other brands.
Beetles is my go-to for budget-friendly gel polish, and their $29 polygel kit does not disappoint. It’s an incredible value for what you get—the formulas for the base coat, top coat, and the polygel itself all feel high-quality and work together seamlessly.
This is the perfect kit for a DIY enthusiast who wants to try a bunch of different looks without breaking the bank. It comes with all the essential tools and a nice range of colors to get you started.
The Downside: I had some issues with the sizing of the included nail forms. Some of them were a bit too curved or wide for my nail beds, so I had to do a lot of filing to make them fit.
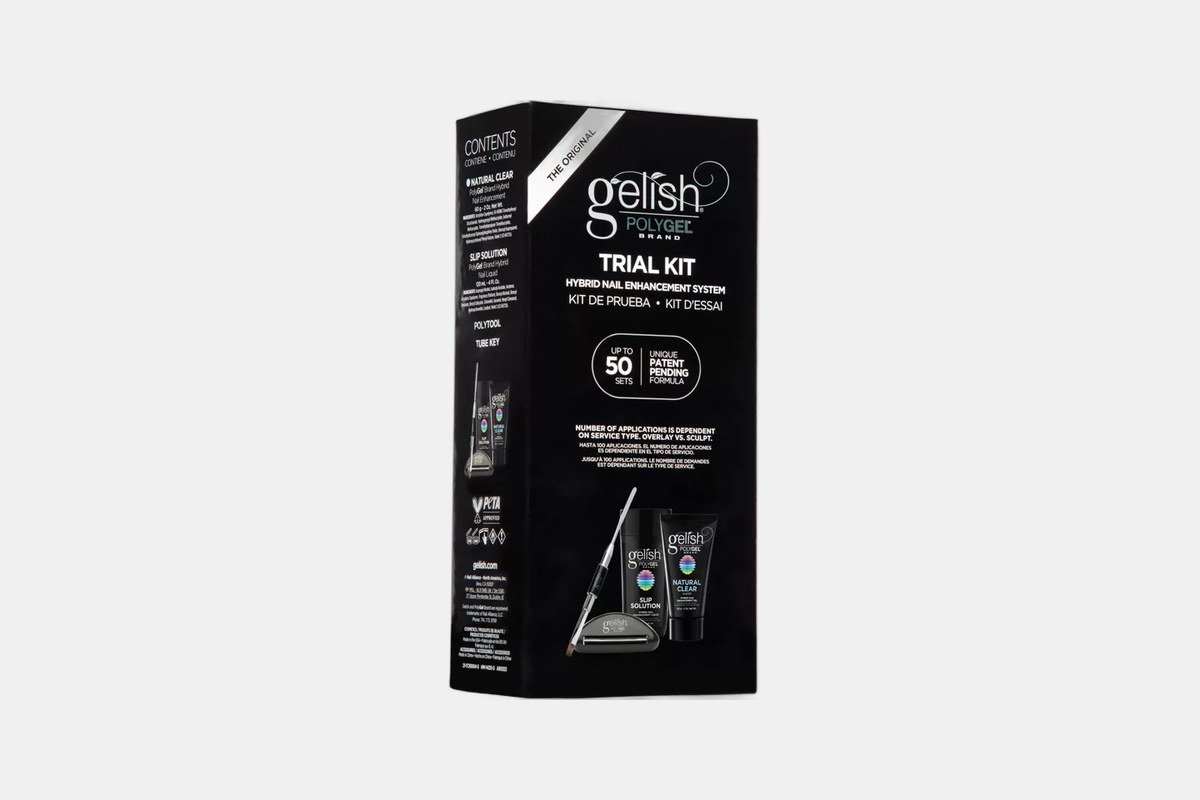
Okay, at $48, this one’s a splurge, but it’s from Gelish—a true salon-professional brand. This little trial kit is perfect for anyone who feels overwhelmed by the huge kits with a million pieces. It’s no-frills, just the absolute essentials for a perfect set.
The formula is *so* strong. Reviewers swear it’s stronger than acrylic, and honestly, I agree. It’s a great way to try a pro-level product at home, and the tiny LED lamp is perfect for travel.
The Downside: It only comes with one color option: a natural clear shade. You’ll need your own gel polish if you want to add color on top.
For just $20, this kit is an absolute dream if you love a natural, nude nail look. The six included colors are all gorgeous, subtle, “your nails but better” shades. It’s perfect for creating clean, simple extensions that look like you just have amazing natural nails.
It comes with nail tips if you prefer those over dual forms, giving you more versatility. I was really happy with how easy it was to work with and, later, to soak off.
The Downside: This kit does not include an LED lamp, so you have to buy one separately or already own one.
If you’re all about the bling, you need this $29 kit in your life. The six polygel shades are shimmery and some even have a cat-eye effect. Plus, it comes with a ton of rhinestones and gems for creating super glam designs.
The 80W UV/LED lamp that’s included is a beast! It’s one of the most powerful lamps I’ve seen in a kit, and it cures the gel super fast. It’s an amazing value for someone who loves to experiment with nail art.
The Downside: The instructions are basically impossible to understand. I had to toss them and just rely on my own knowledge of how to apply polygel.
When you’re shopping for a polygel nail kit, the most important thing to check for is a good UV or LED lamp. A weak lamp won’t cure the gel properly, leaving you with a sticky, bendy mess. Look for kits that specify the wattage—anything 36W or higher is usually a safe bet.
Next, make sure it comes with a slip solution. This is the liquid you’ll use to keep the gel from sticking to your brush as you shape it. Some people use 70% isopropyl alcohol as a dupe, but I find that the solutions formulated specifically for the kits tend to work best and prevent cloudiness.
Finally, just be patient with yourself! Your first set might not be perfect, and that’s okay. It takes a little practice to figure out the right amount of gel to use and how to shape it. But once you get the hang of it, you’ll be obsessed with doing your own flawless, long-lasting at home polygel nails.
All the Different Nail Shapes
Wedding Nail Designs Favorite Wedding Nails
55 Winter Nail Art Ideas
15 Best Nail Polish Organizers